The pictures taken in indirect sunlight came out tolerable;
the ones taken under the fluorescents over the dining table,
not so hot.
All pictures are links to larger versions of the same picture.
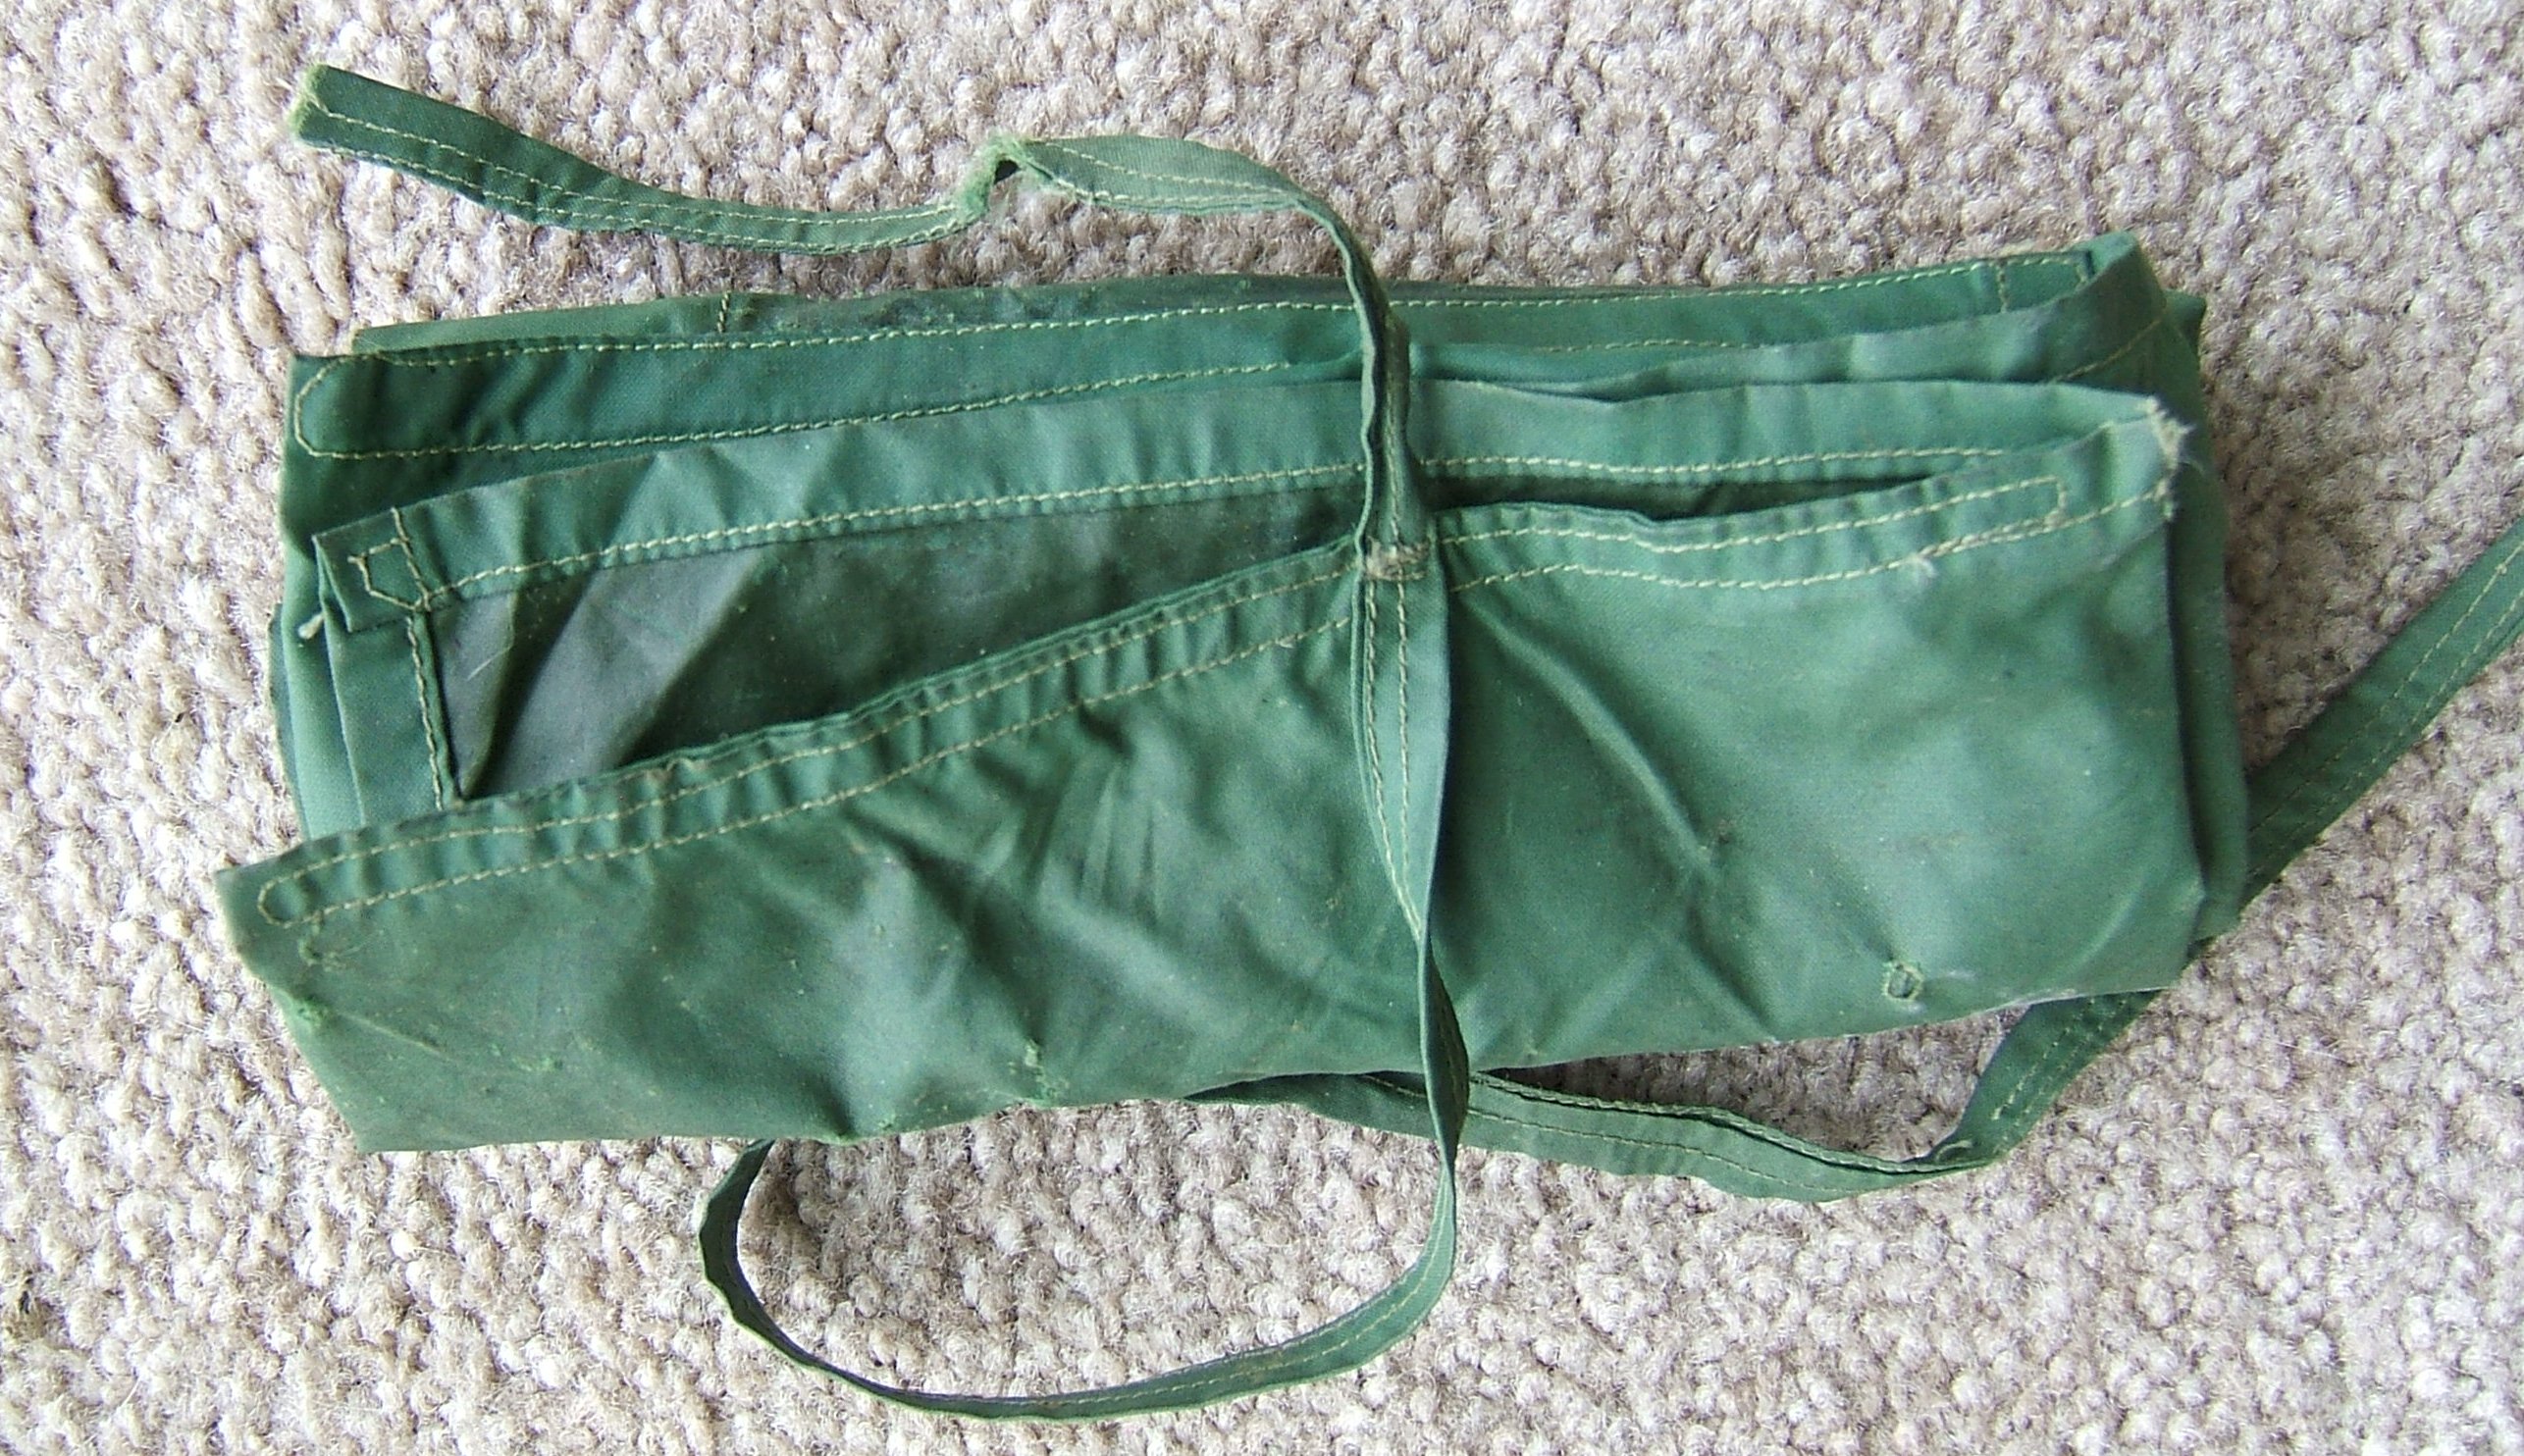
When I got fed up with the way the deteriorated coating on my old mechanical-emergency kit glued my bike-repair tools to their pockets, I set out to make a new one out of scraps from my black ripstop wind pants. These events took place over several days.
Surprise! The ripstop scraps are hanging in the closet exactly where I reached for them — and there's a rectangle just the same size and shape as the roll pouch — oh, wait — well, there's another rectangle I can sew on for the pockets.
But piecing is a royal pain. Nope, that won't do either.
Ah, here there is plenty of room.
I dotted the cutting lines because the lines woven into the fabric are more precise than my silver pencil.
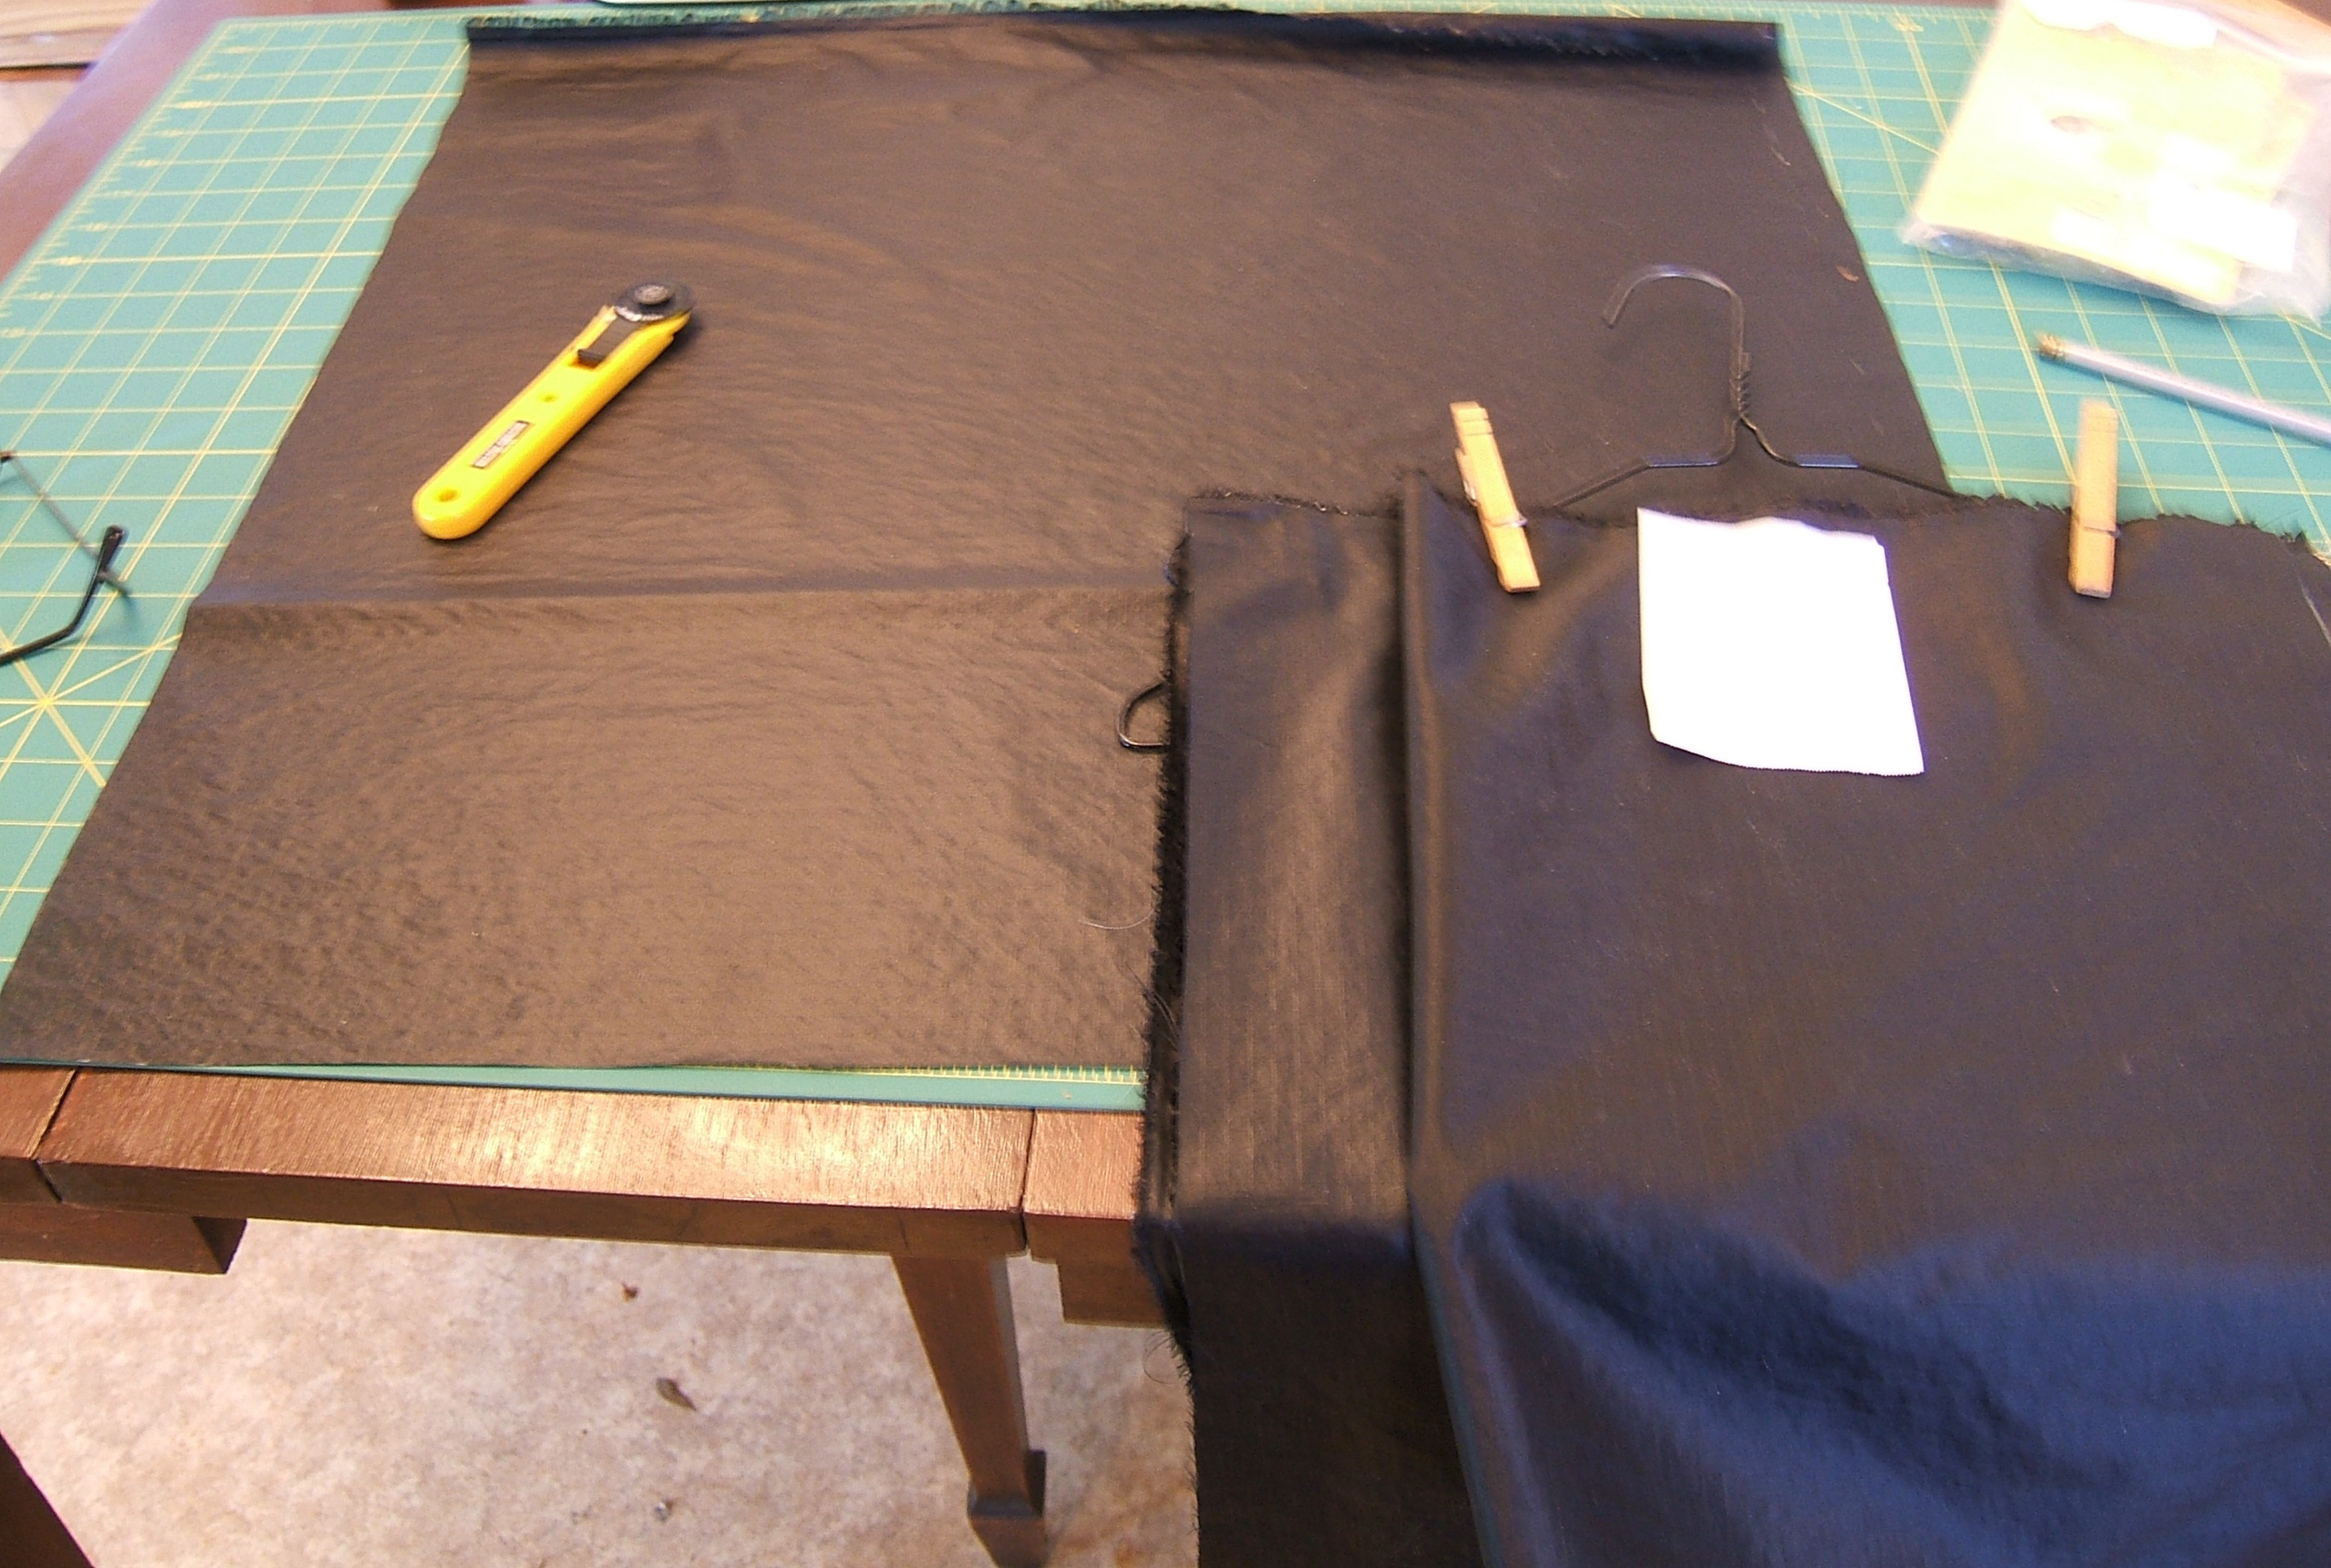
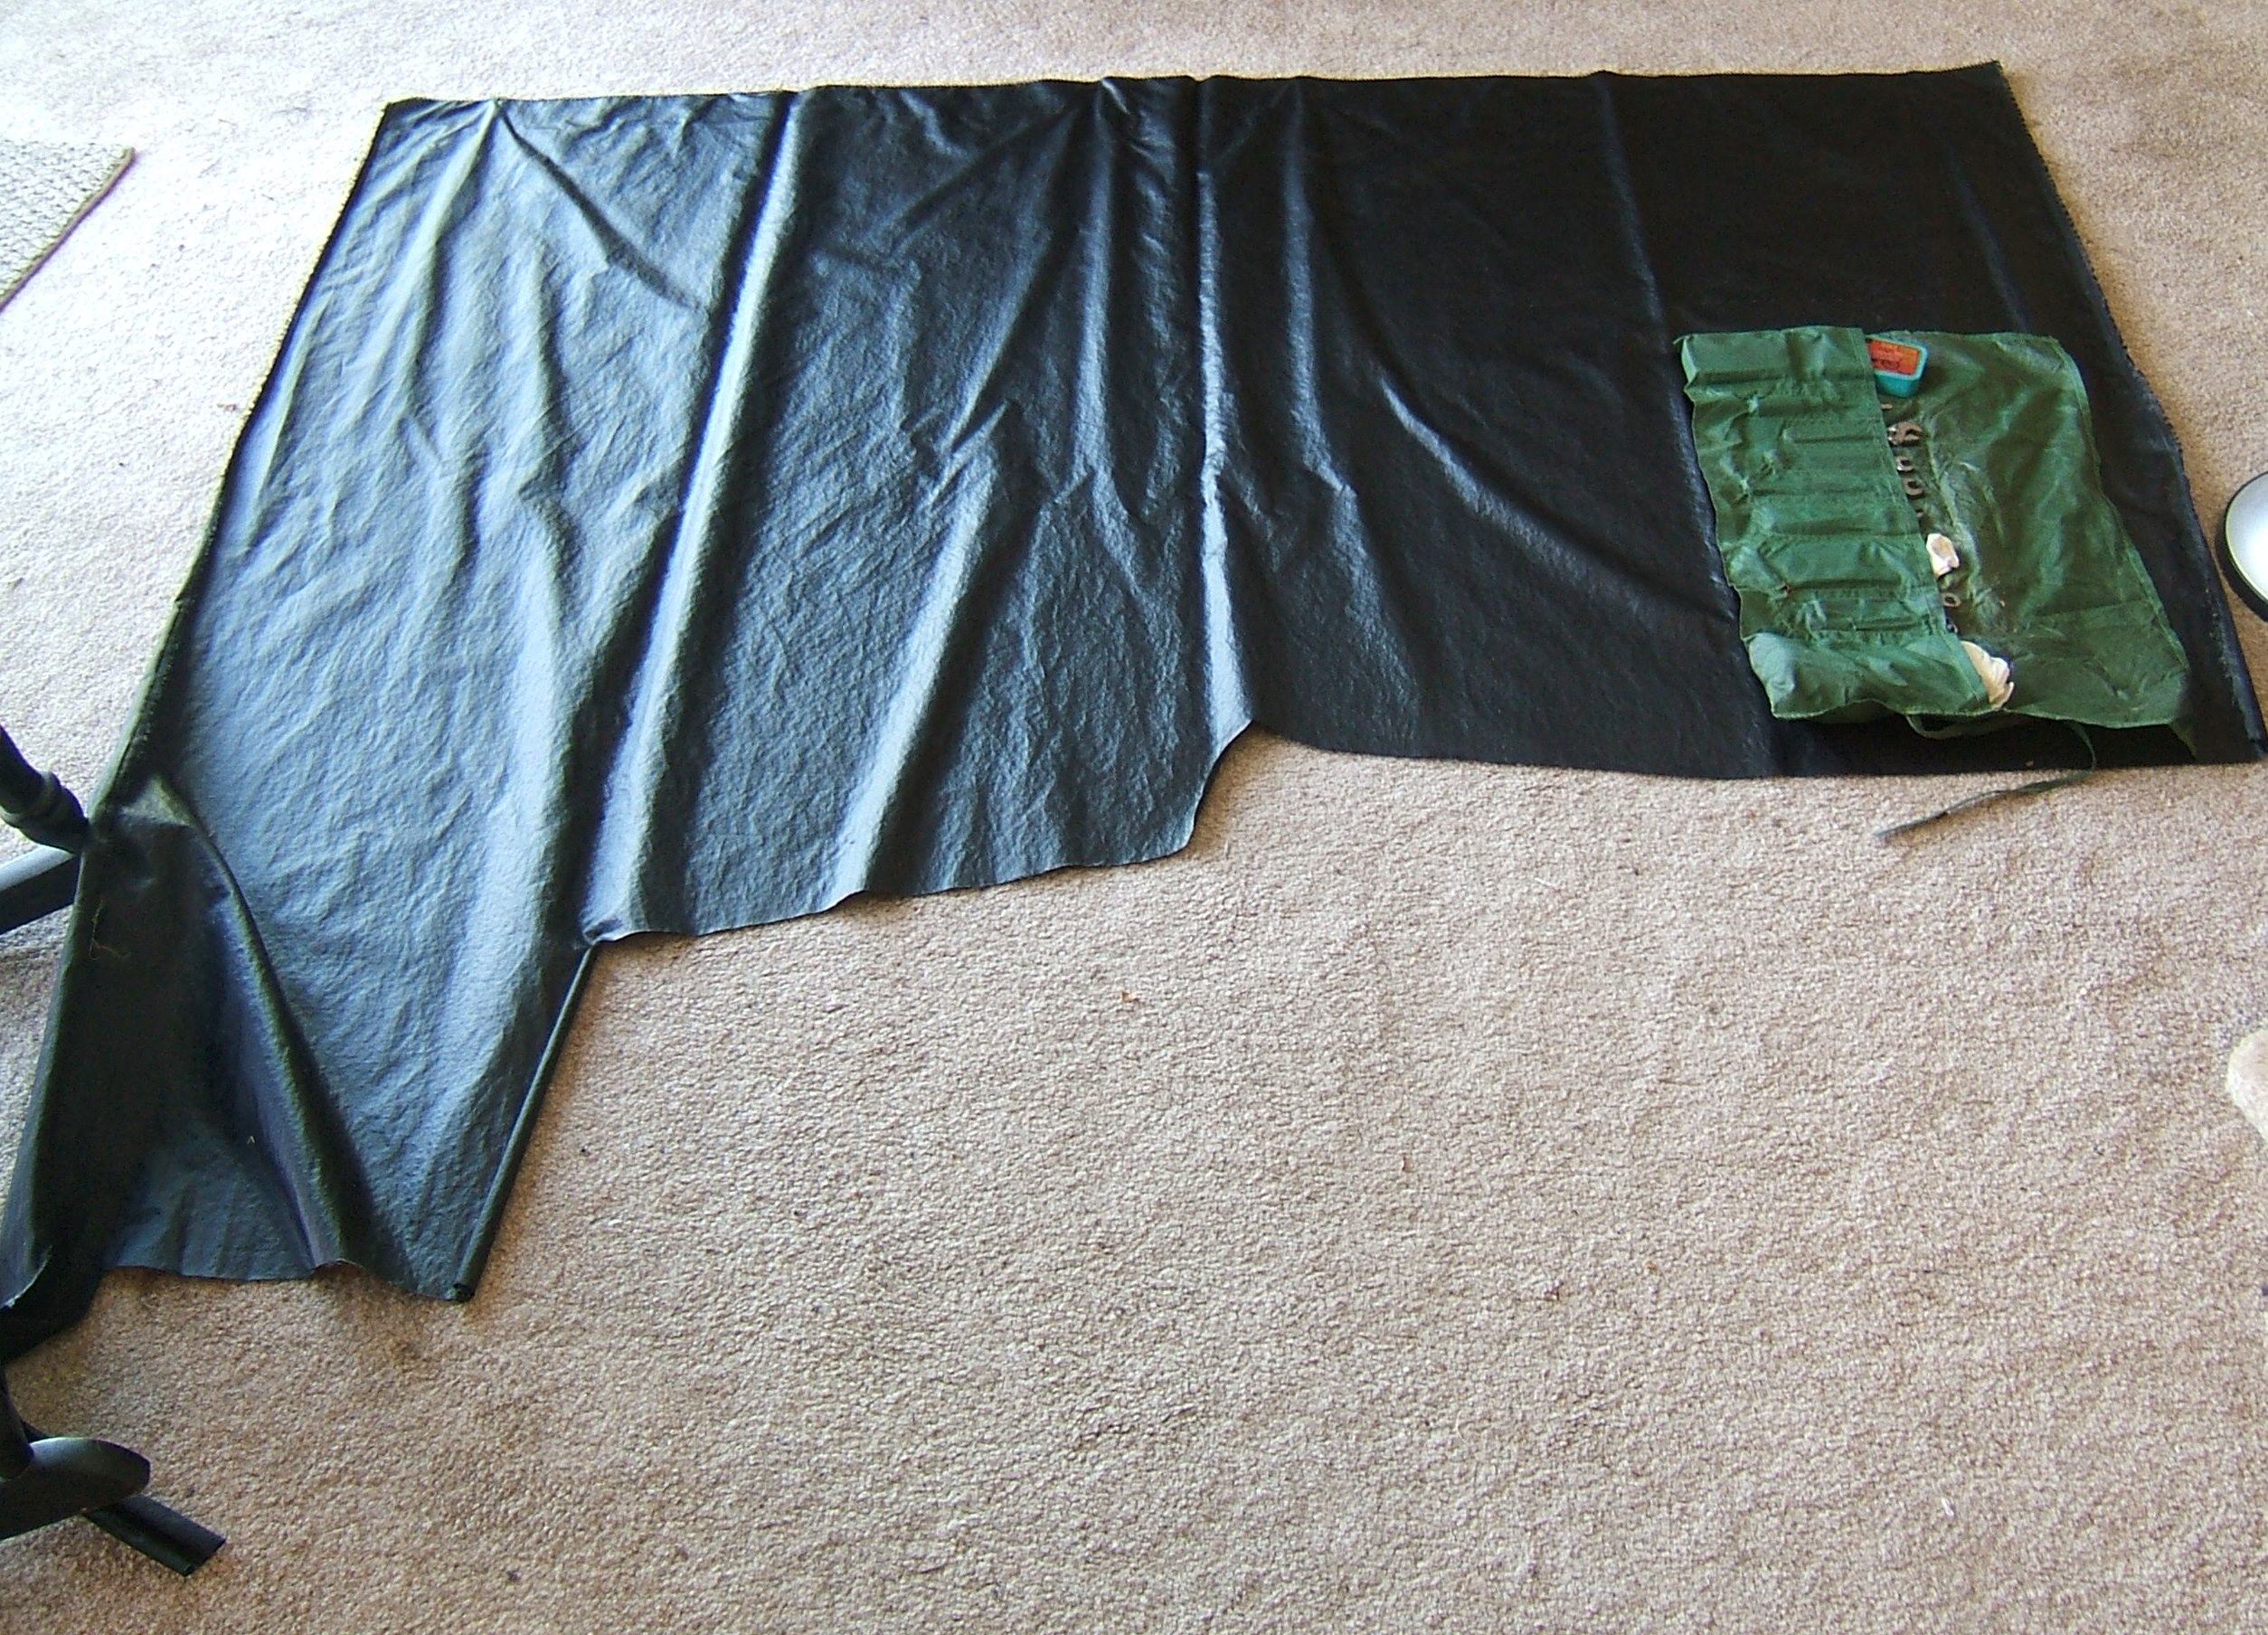
So now I've got the piece I want cut off and the rest folded up to put back into the closet. Saving that register tape didn't do me a lot of good because the ink is fugitive, but I copied the price and yardage in pencil before it was quite gone, and I pin it to the fabric blank side out to save what's left.
The best I can do in the line of fine black synthetic thread is Gütermann polyester. Could use yellow nylon, as I did on the green one, but strength isn't critical in this application, and I'd just as soon not be reminded of how wobbly my stitches are every time I unroll the thing.
Since I have to re-thread whatever machine I'm using, and it's all straight stitch, I'll use the White. Grump — I'm out of #11 Universals. But when I was planning to use the Necchi, I was giving serious thought to leaving the stretch needle in. I think I'll use a #11 stretch. Assuming that #11 can handle the poly thread; I was thinking nylon when I decided to use a finer needle.
I was threading the needle before I remembered that I had to change it. Since the end of the thread was fuzzy, I had plenty of time to remember, but I decided that #14 would do just fine. I feel a sort of snap each time it penetrates the tight-woven synthetic, but I get the same effect from pins much finer than the finest machine needle.
So one hem is in, and it's time for my nap.
I hemmed all four sides, since the fabric is so thin that it won't matter that six layers of it are piled up at the ends of the pocket strip. For the same reason, I didn't miter the corners, but simply let them overlap.
Two of the pockets on my roll kit fit their contents only approximately. I wonder what was originally in them?
I sewed the ends of the pocket strip on the new one, just so I could say I'd taken a stitch today. I have remembered that I have a "nonce" pencil that might show on black synthetic.
In emptying the pockets so that I could measure them, I found two dollars and seventy cents that have long since been listed as "unrecorded expenses" in my bookkeeping program. It's way past time I replaced those coins with a cell phone.
I sewed the pockets in the old kit in one undulating line — I began the oval that separates the Rema-box pocket on the side next to the screwdriver so that when the oval was complete, the line could branch off to wobble across the pocket strip and end in a similar oval to separate the leftover-space pocket.
For the black one, I sewed the Rema-kit pocket first, so that I could have the Rema-kit pocket already sewn when using pins to check the fit of the smaller pockets.
Next step is to make the tie — I knew there was a reason I left that long tail on one of the scraps.
But right now, it's nap time.
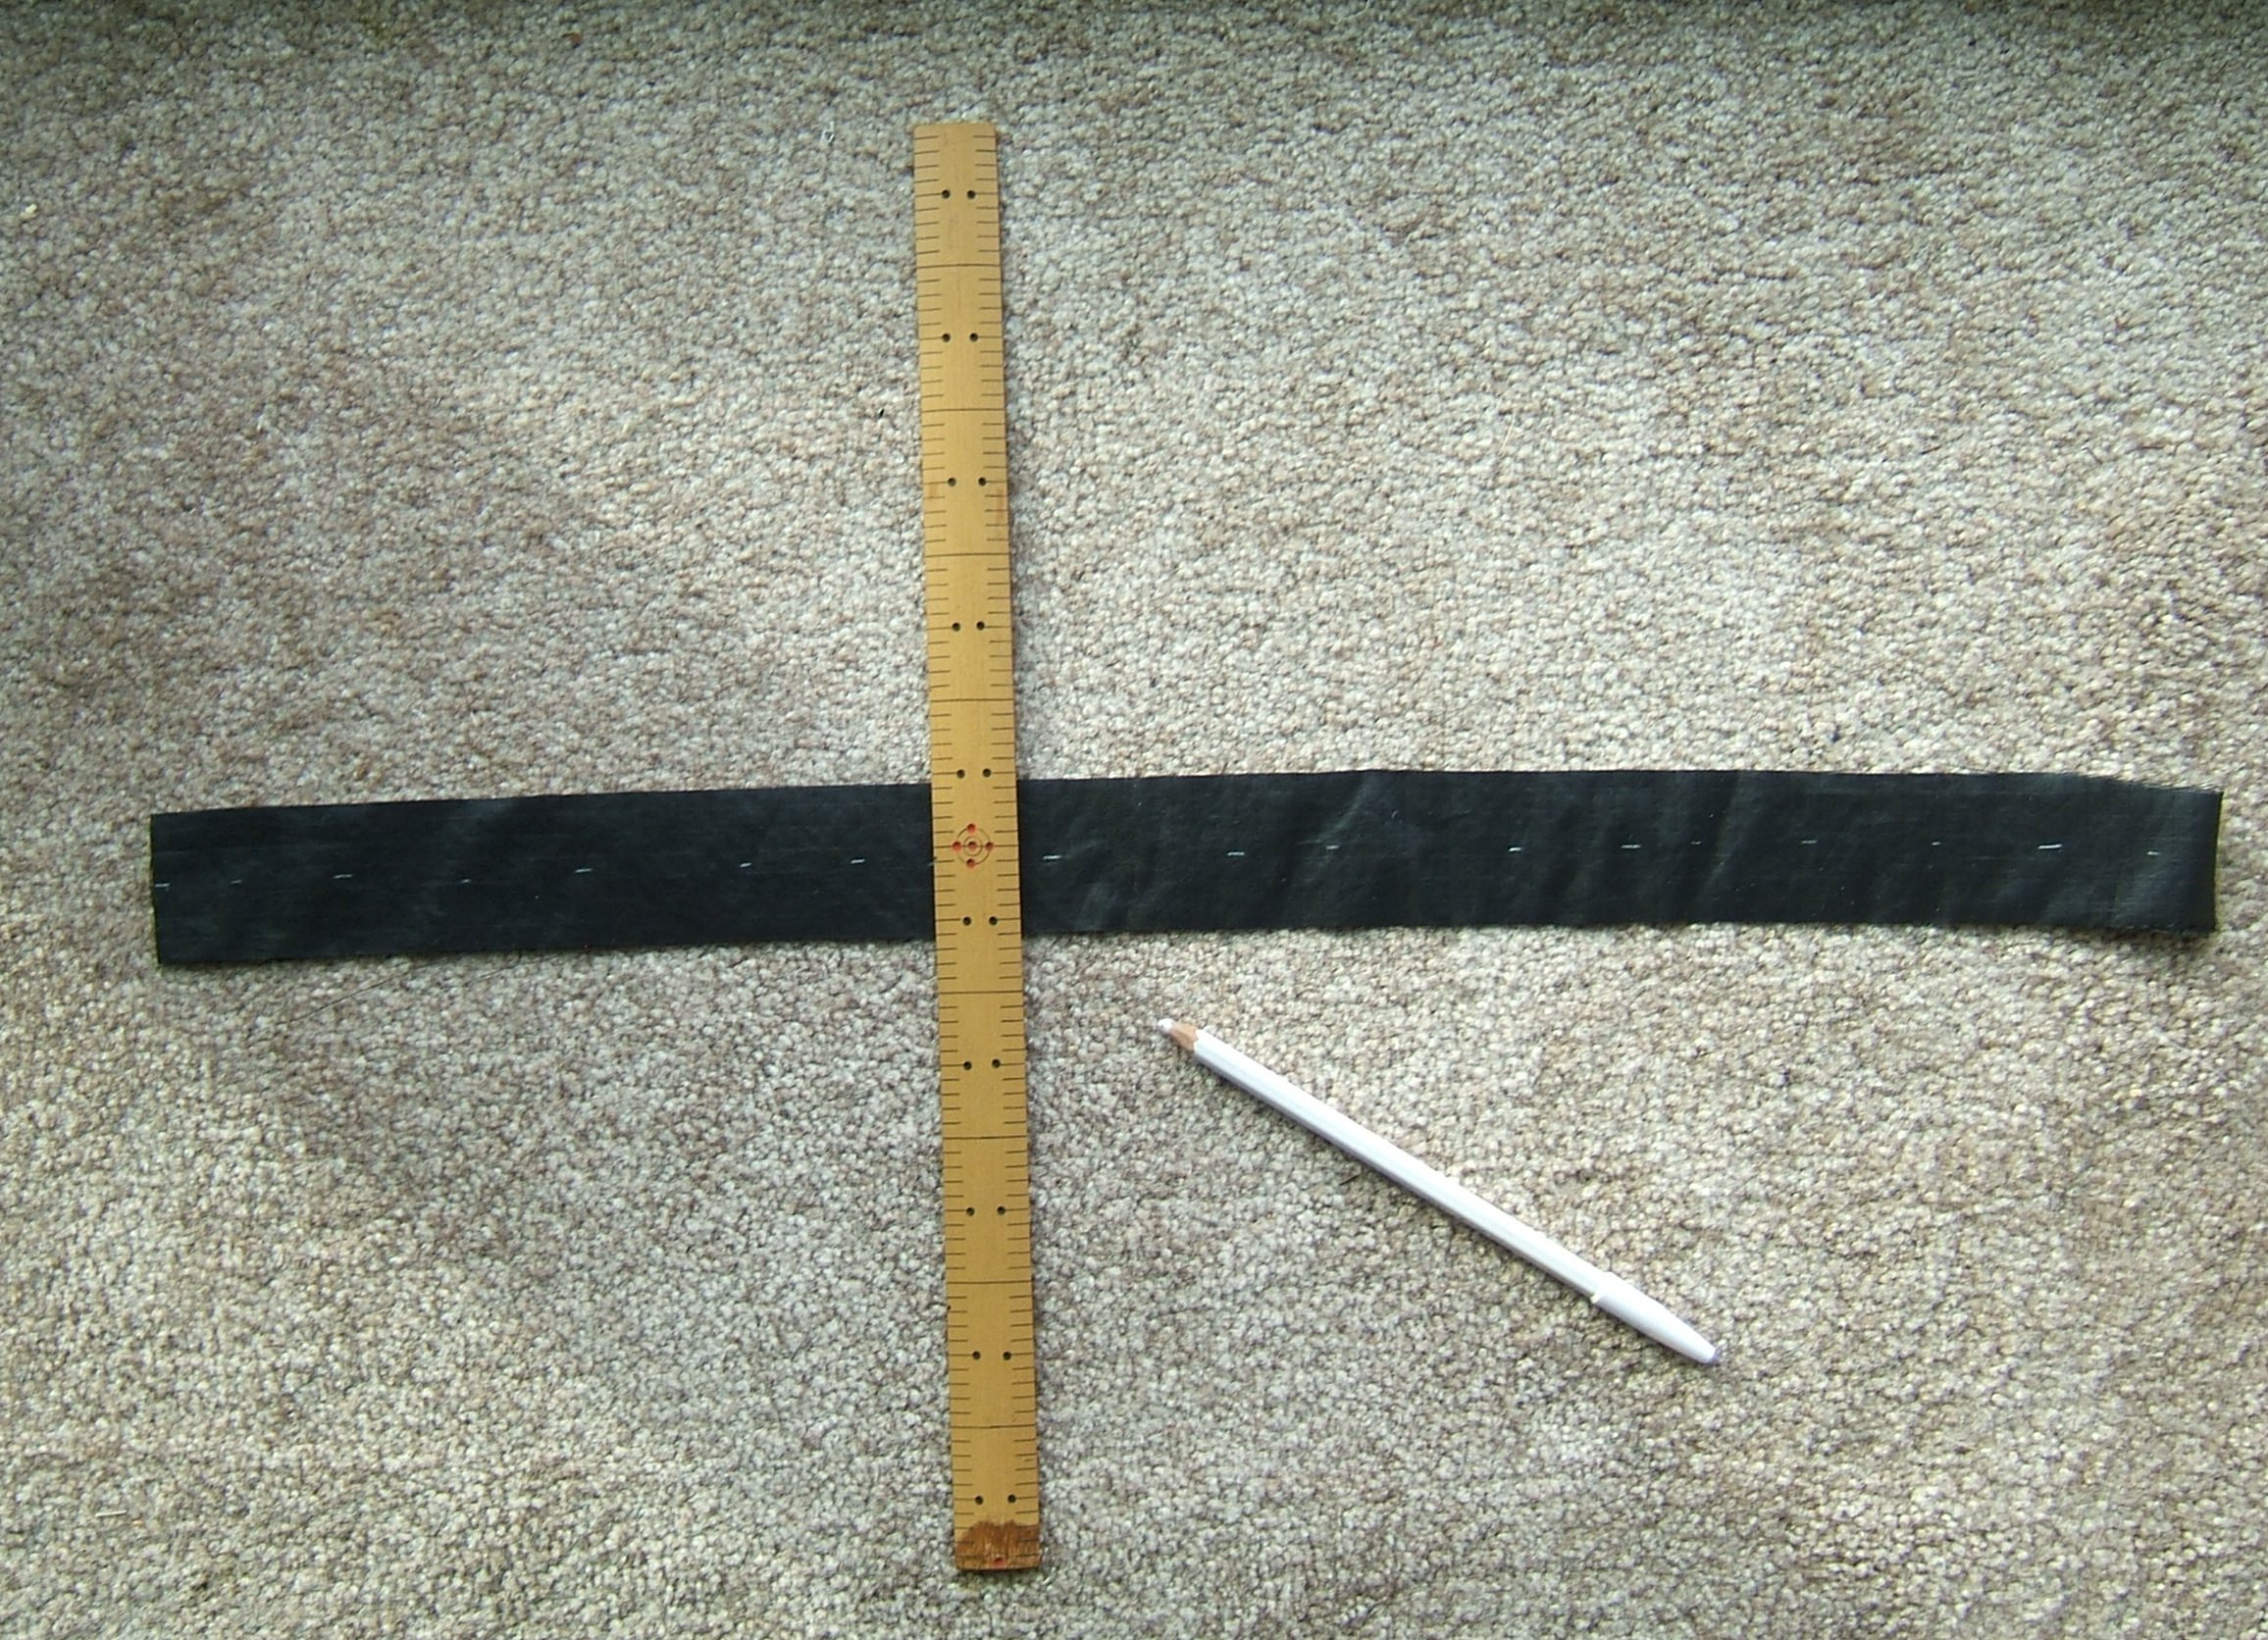
When I woke up, I marked the center with my nonce pencil and a Japanese ruler especially made for finding centers. The pencil worked well on the rough side of the ripstop, but I need to mark the shiny side for the undulant stitching.

I cleared off a space on the ironing board and folded one side of the strip to meet the dotted line,

then folded the other side up to meet the raw edge of the first side. I put the pins in diagonally

so that they could be removed after I folded the strip in half. Folding was facilitated considerably by pinning one end of the strip to the ironing board.
Then I carried it into the living room to get a picture by natural light. Next: carry this chair into the bedroom and open up the White.
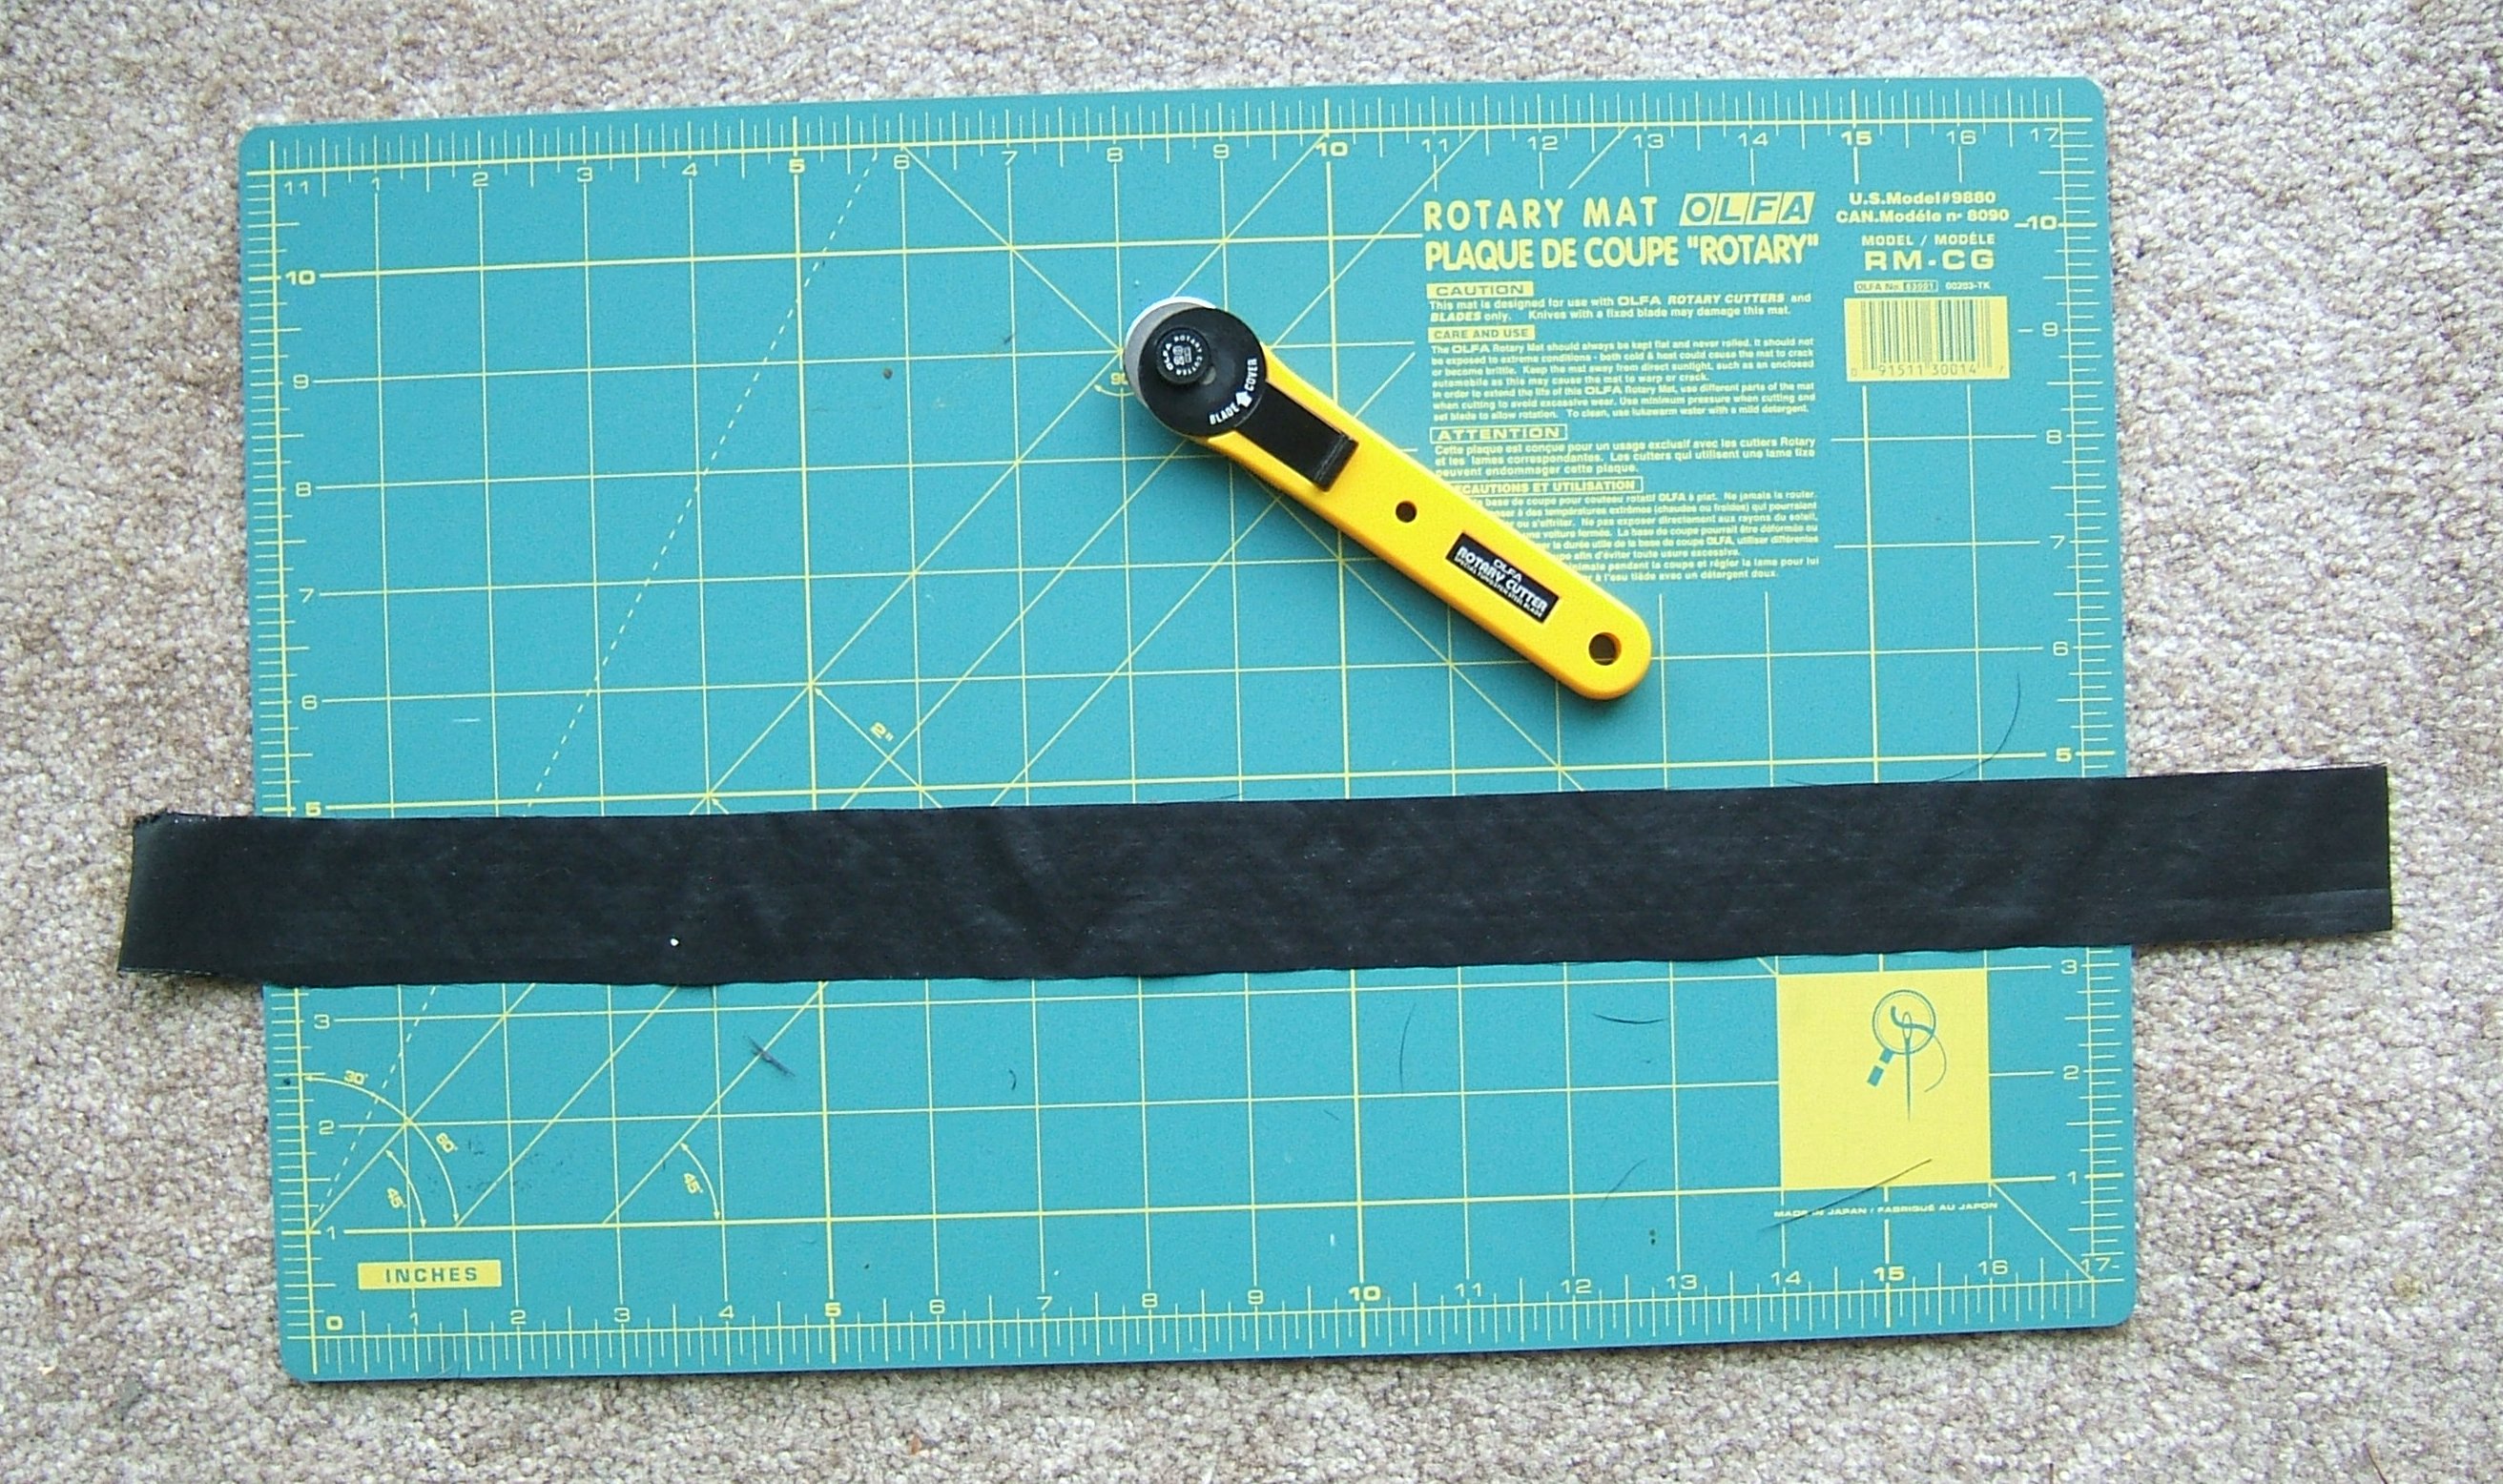
And stitching the tie went without a hitch. I first stitched down the middle to keep everything in place, then edge-stitched on the side with two folds. I didn't finish the ends in any way.
I tested the nonce-ness of my Nonce pencil a tad sooner than I intended: I'd drawn three perfect pockets and was counting to make sure I was drawing the correct pocket for the fourth when I realized that I'd left a gap between the screwdriver pocket and the Rema-kit pocket. If there ever were directions with the pencil, they were lost years ago, but a drop of water on a thick rag worked well, and didn't even leave the hydrophobic fabric wet.
I was able to save some of the lines.
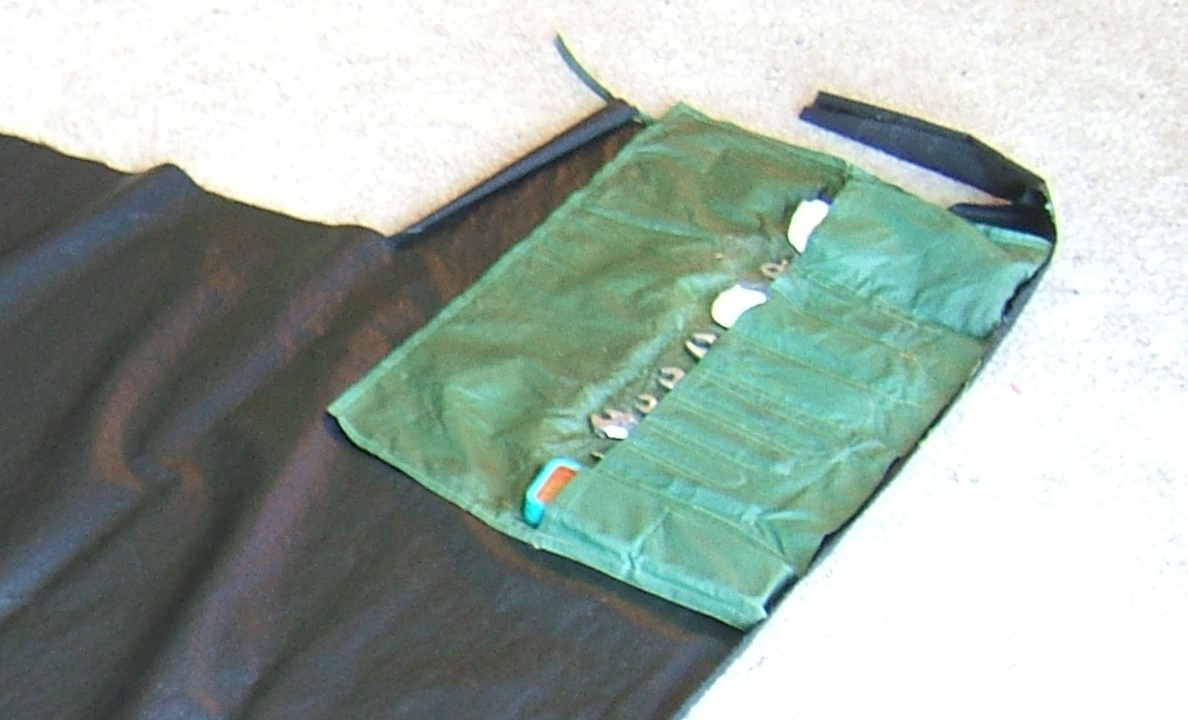
I'd never even heard of a Park Tool patch kit when I made the fifth pocket, but it fits. I extended it to the fold so misc. could be put in there too, and narrowed the sixth pocket to fit the tire irons. It was probably meant for the tire irons in the first place, but side-by-side and not piled up the way they naturally lie.
Oh grumbly gripe. I was chortling that I had exactly enough time to finish pinning, try the things into the pockets, and get a picture in natural light when I realized that I'd left out the hinge between the patch kit and the tire irons. First too much space and now too little!
At least there are only two pockets to re-draw this time.
Evening is for playing with the computer; I shall re-draw the pockets tomorrow. Or maybe I'll put the tools back into the old kit and go for a ride.
I briefly considered adding a pocket for a refueling implement, but if I carry a spoon it would be much more convenient to put it into my candy pocket. And it's possible to eat yogurt with a pocket knife. (And places that sell yogurt usually also sell crackers that one can use as spoons.)
It's too late in the morning to start a ride, so I'd better get on with my sewing.
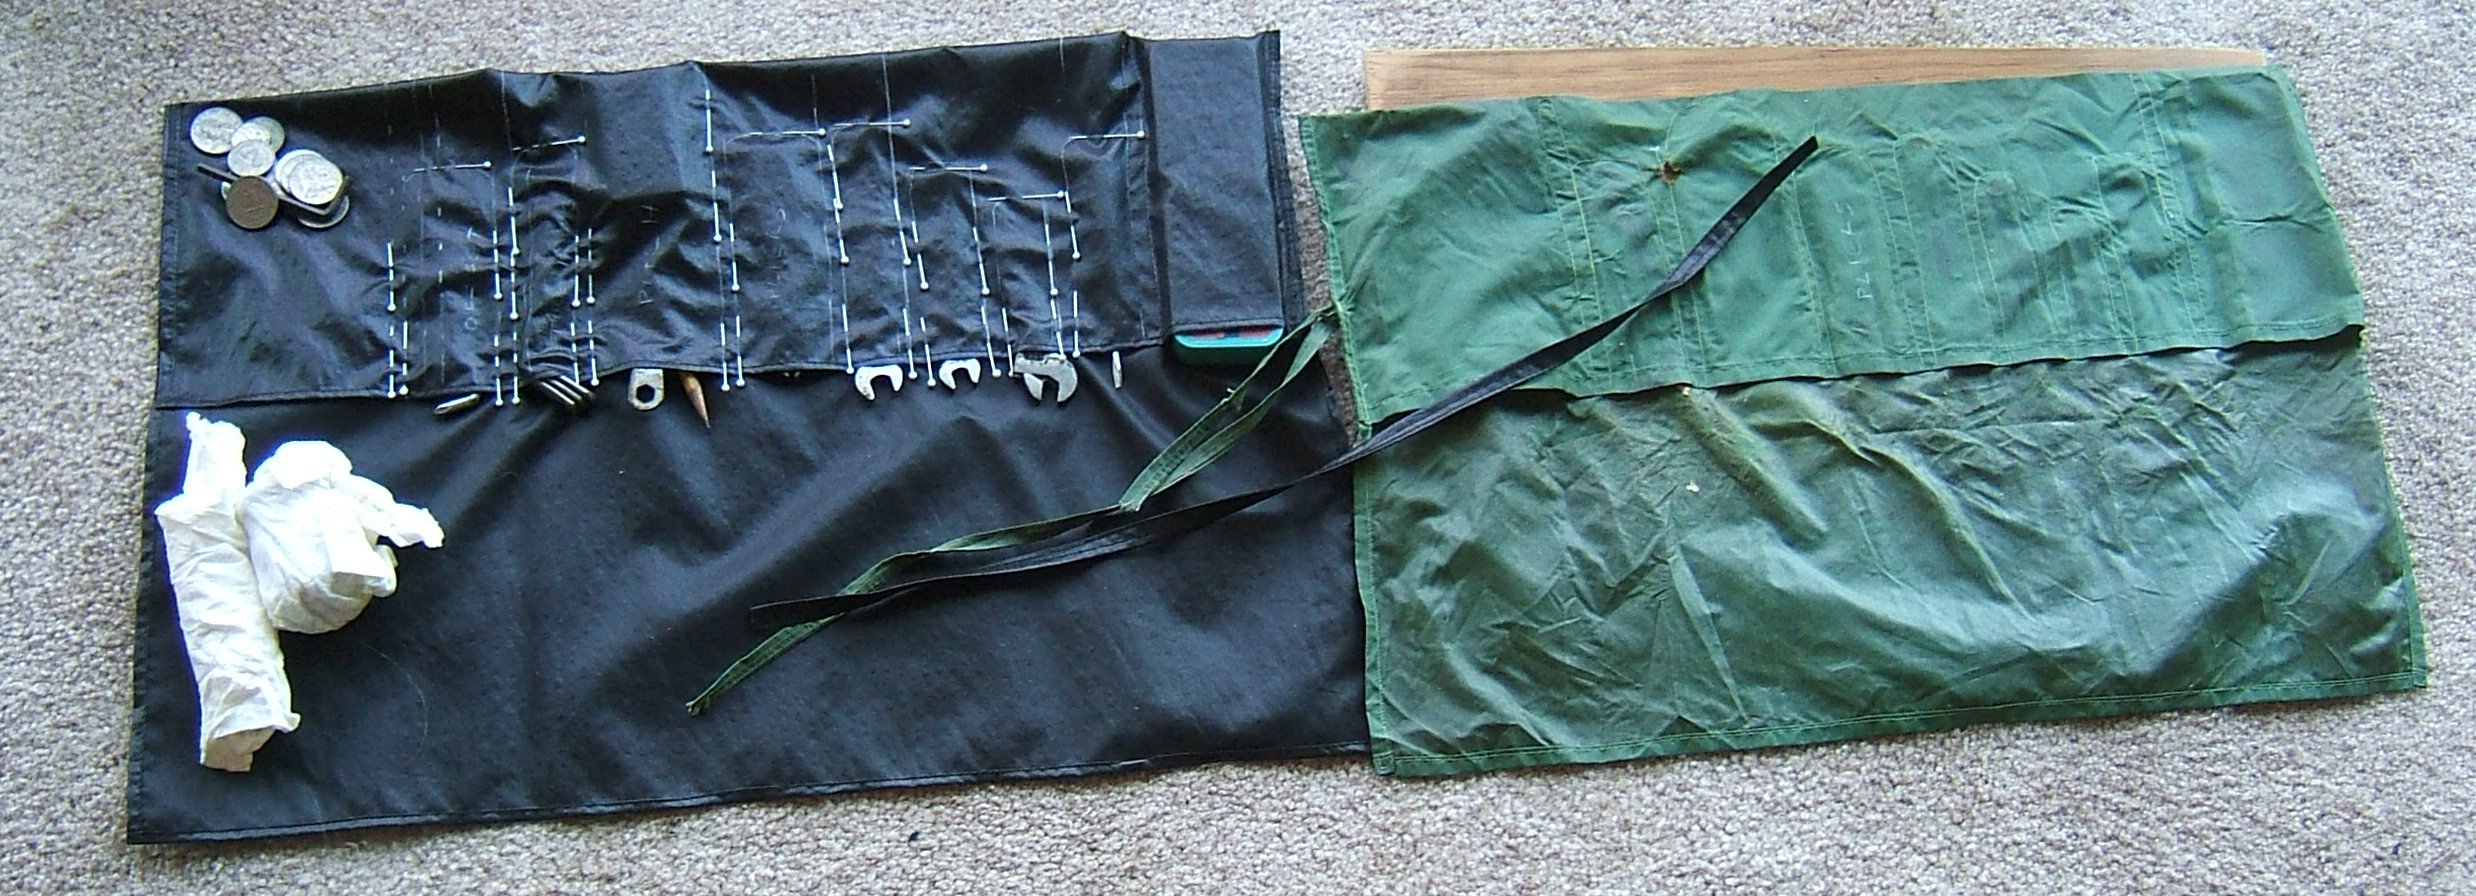
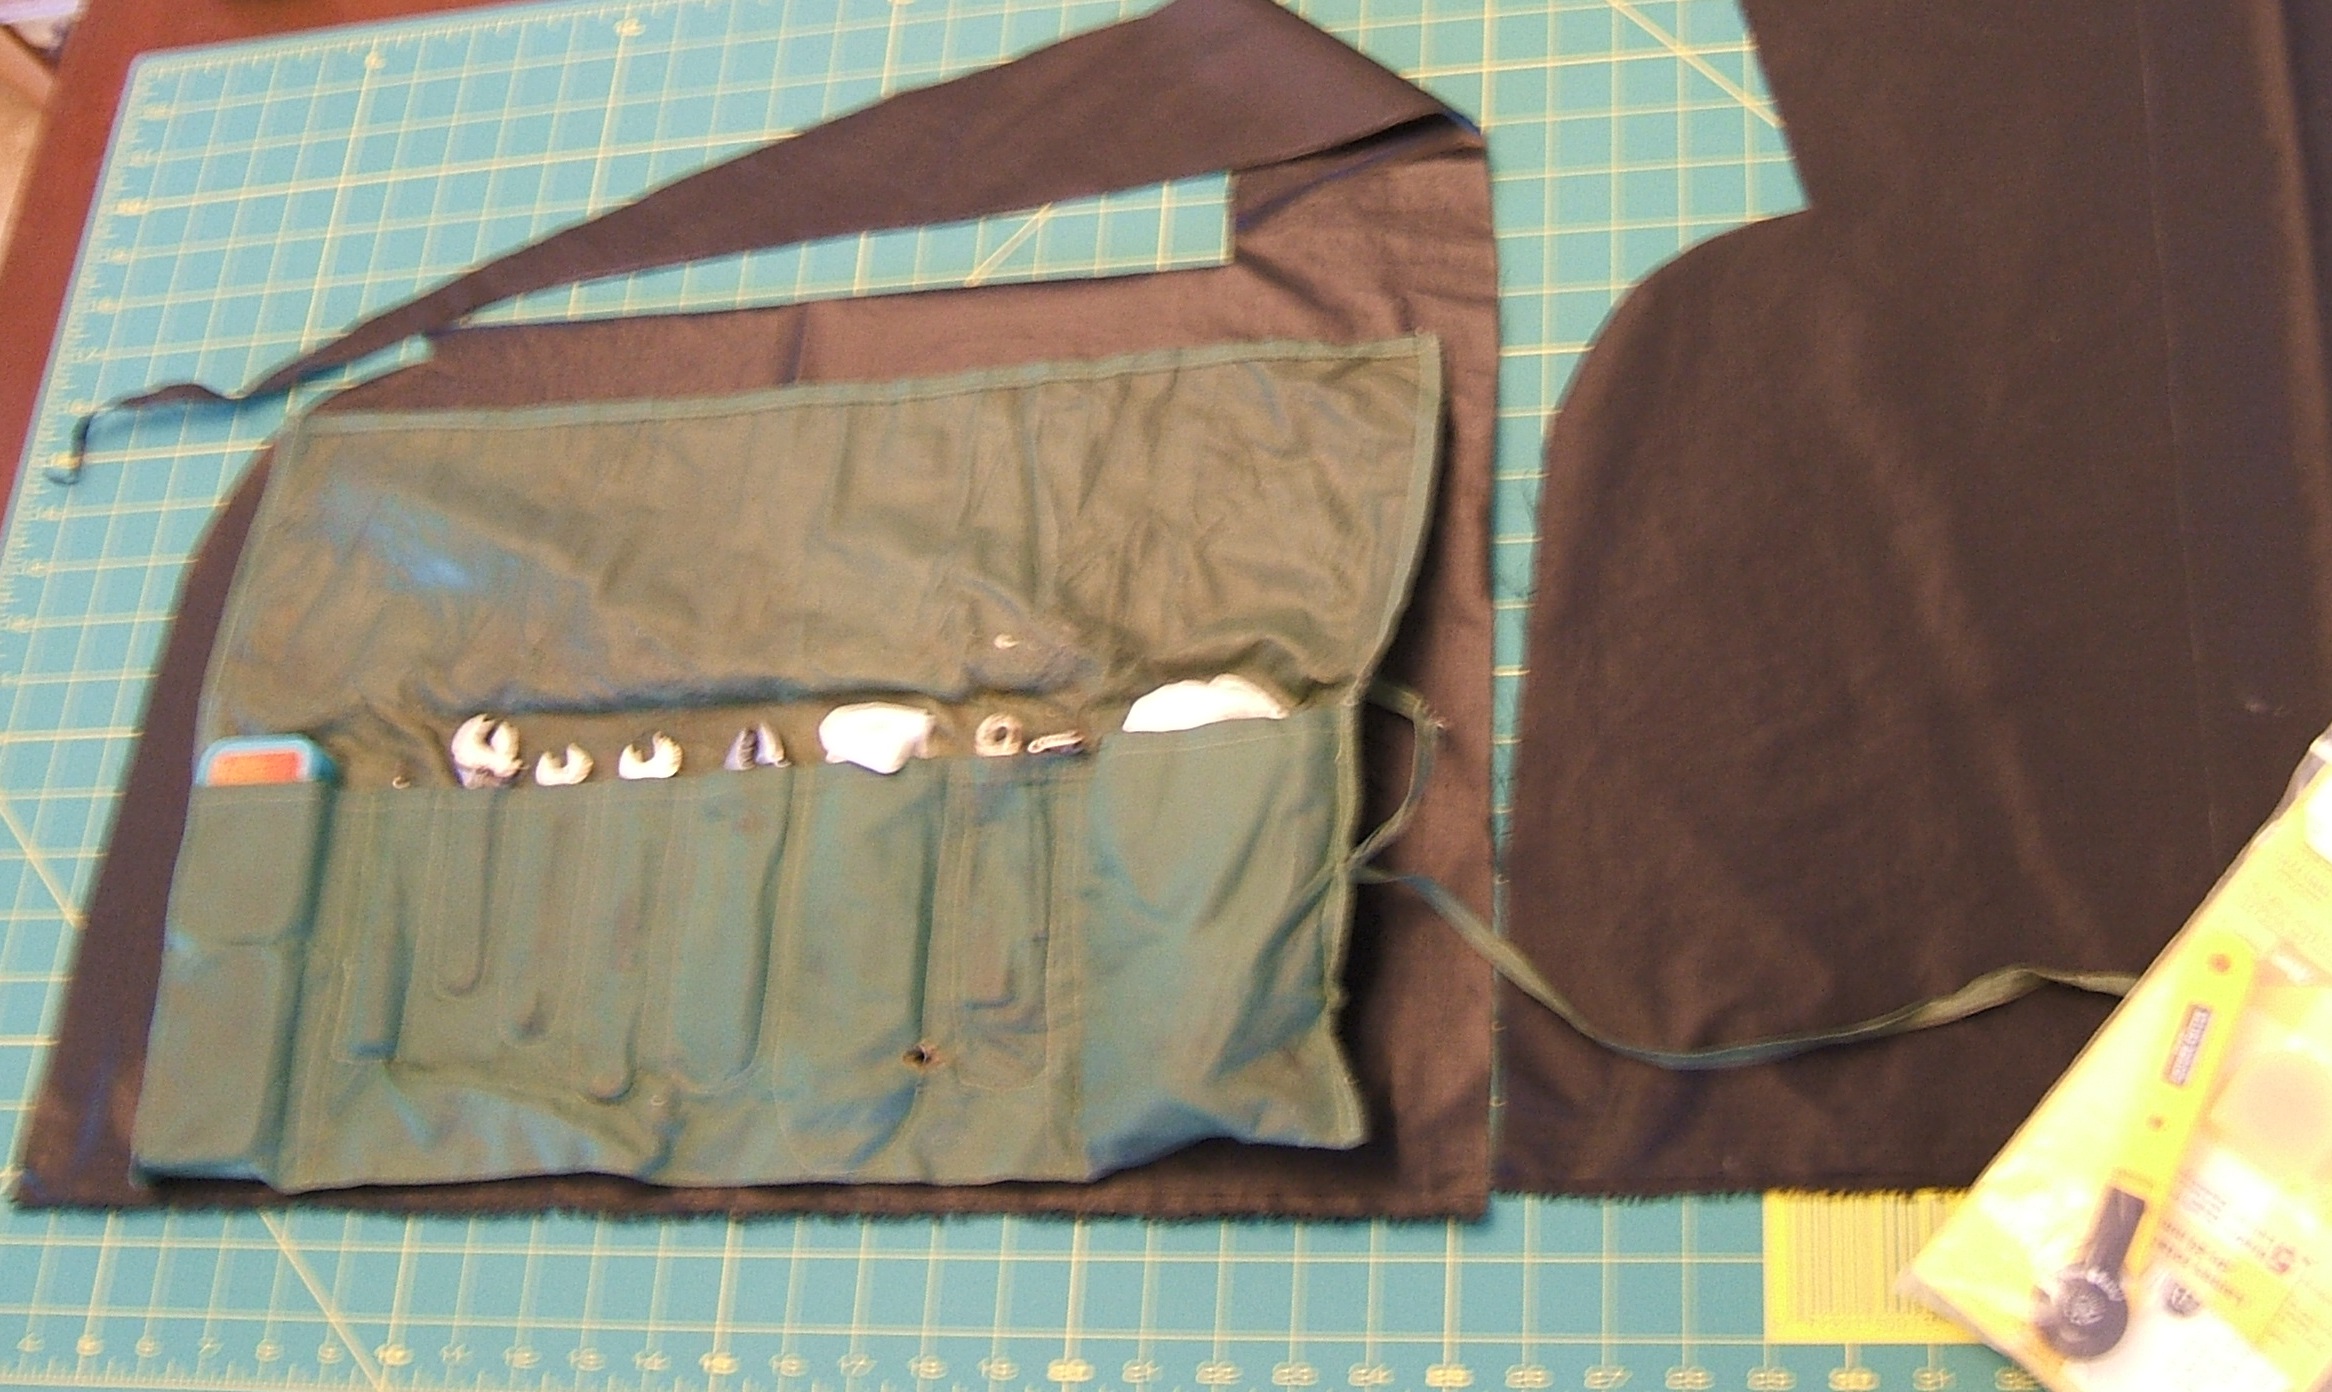
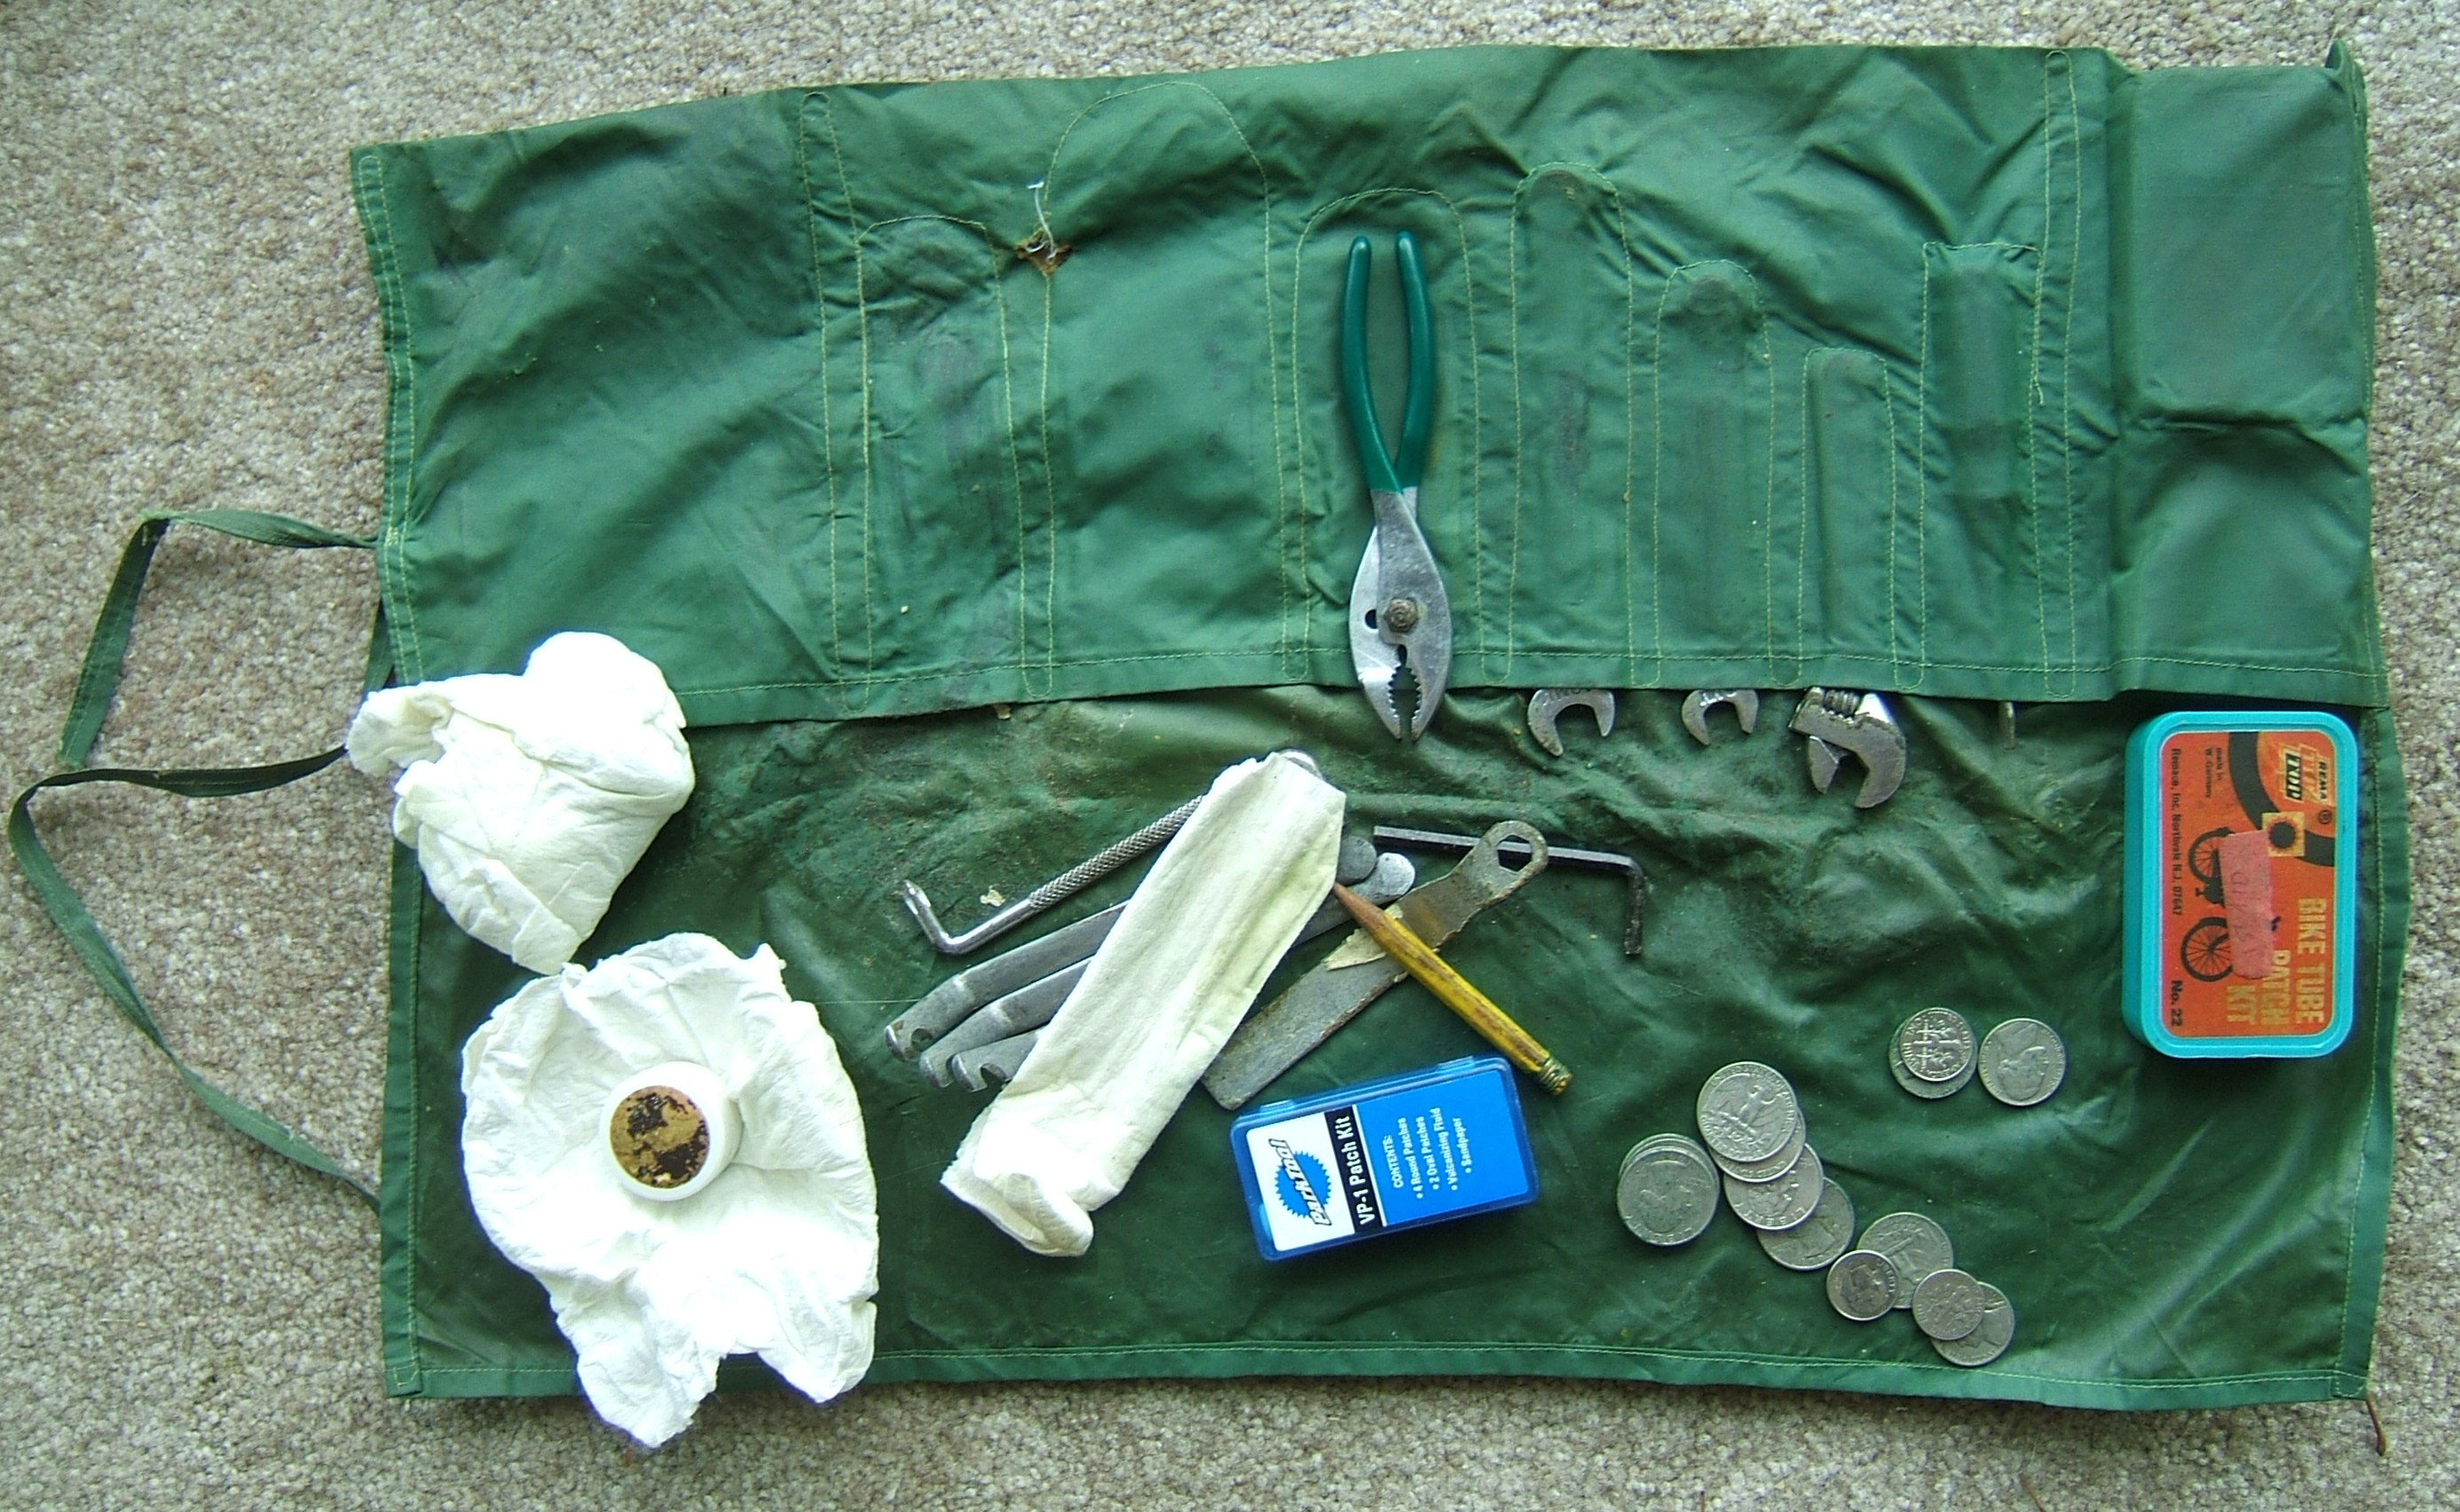
The plywood under the old roll pouch was handy when I needed to move the pouch with a bunch of loose tools on it.
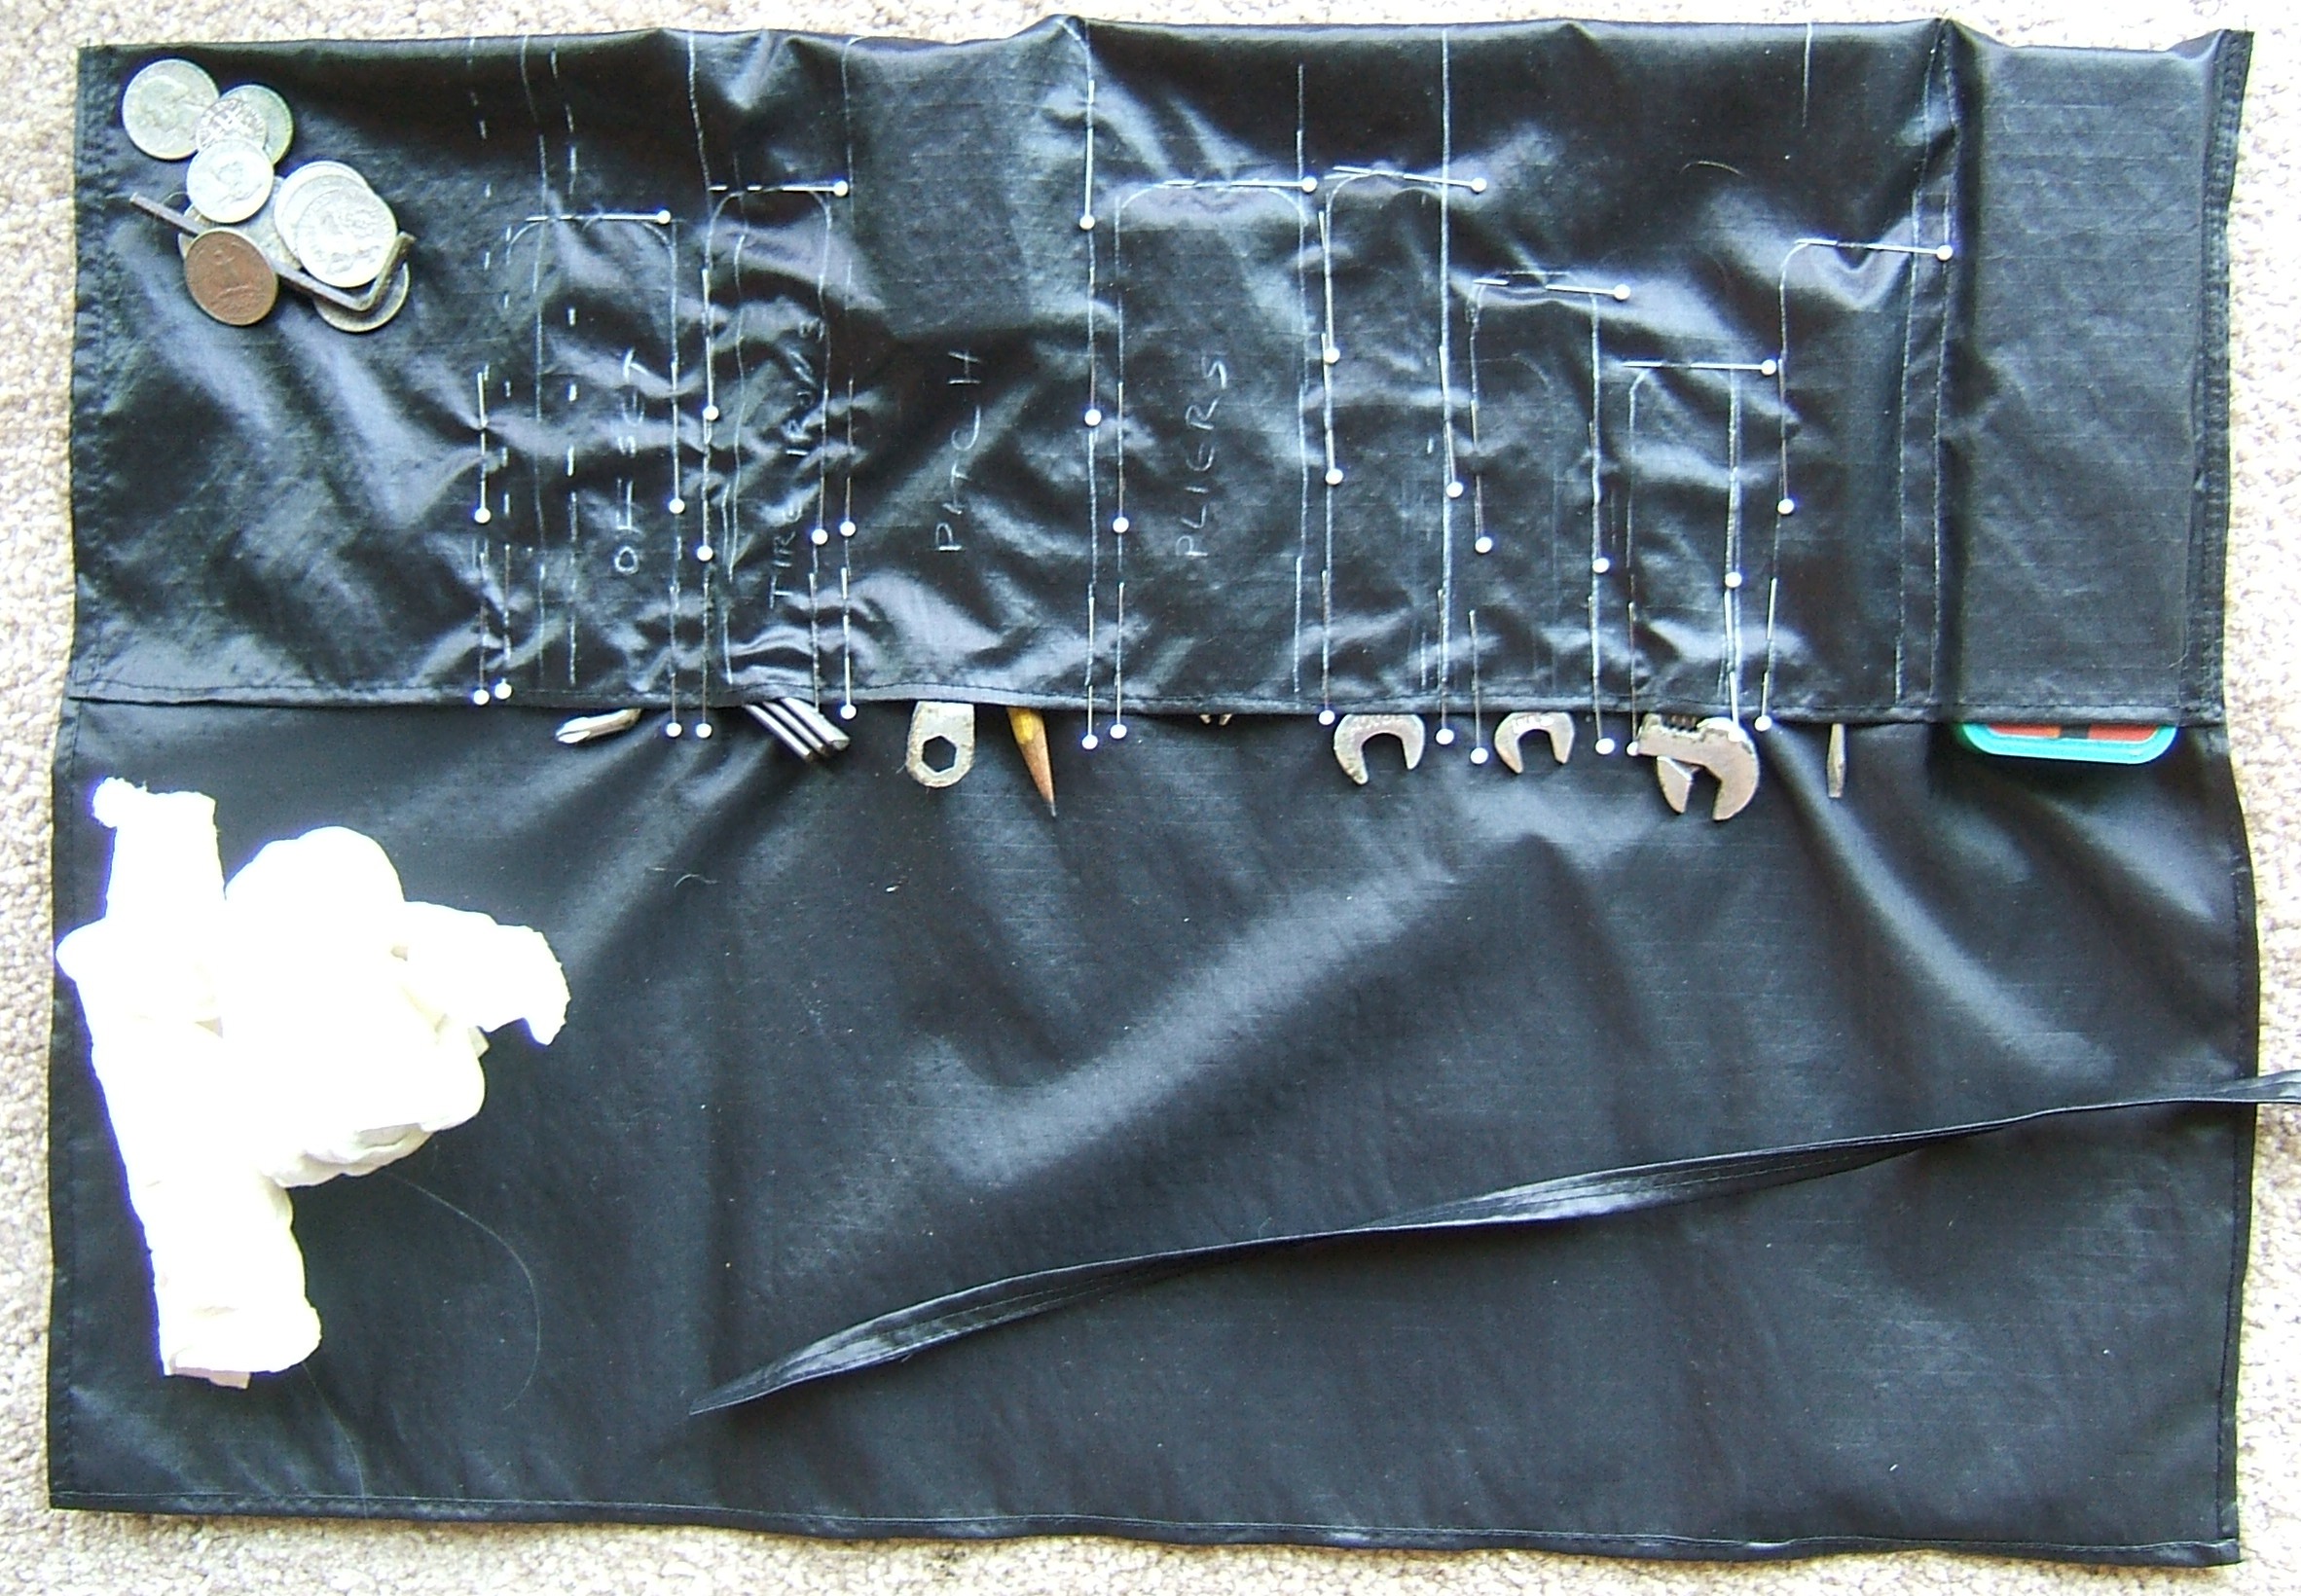
And the pin-fitting shows that I got all the lines in the right place. Almost all; the 8mm wrench pocket was a tad too deep. I moved the pin, and will re-draw that part.
I plan to leave each pin in until it gets in my way; that will help me to remember which lines to stitch along.
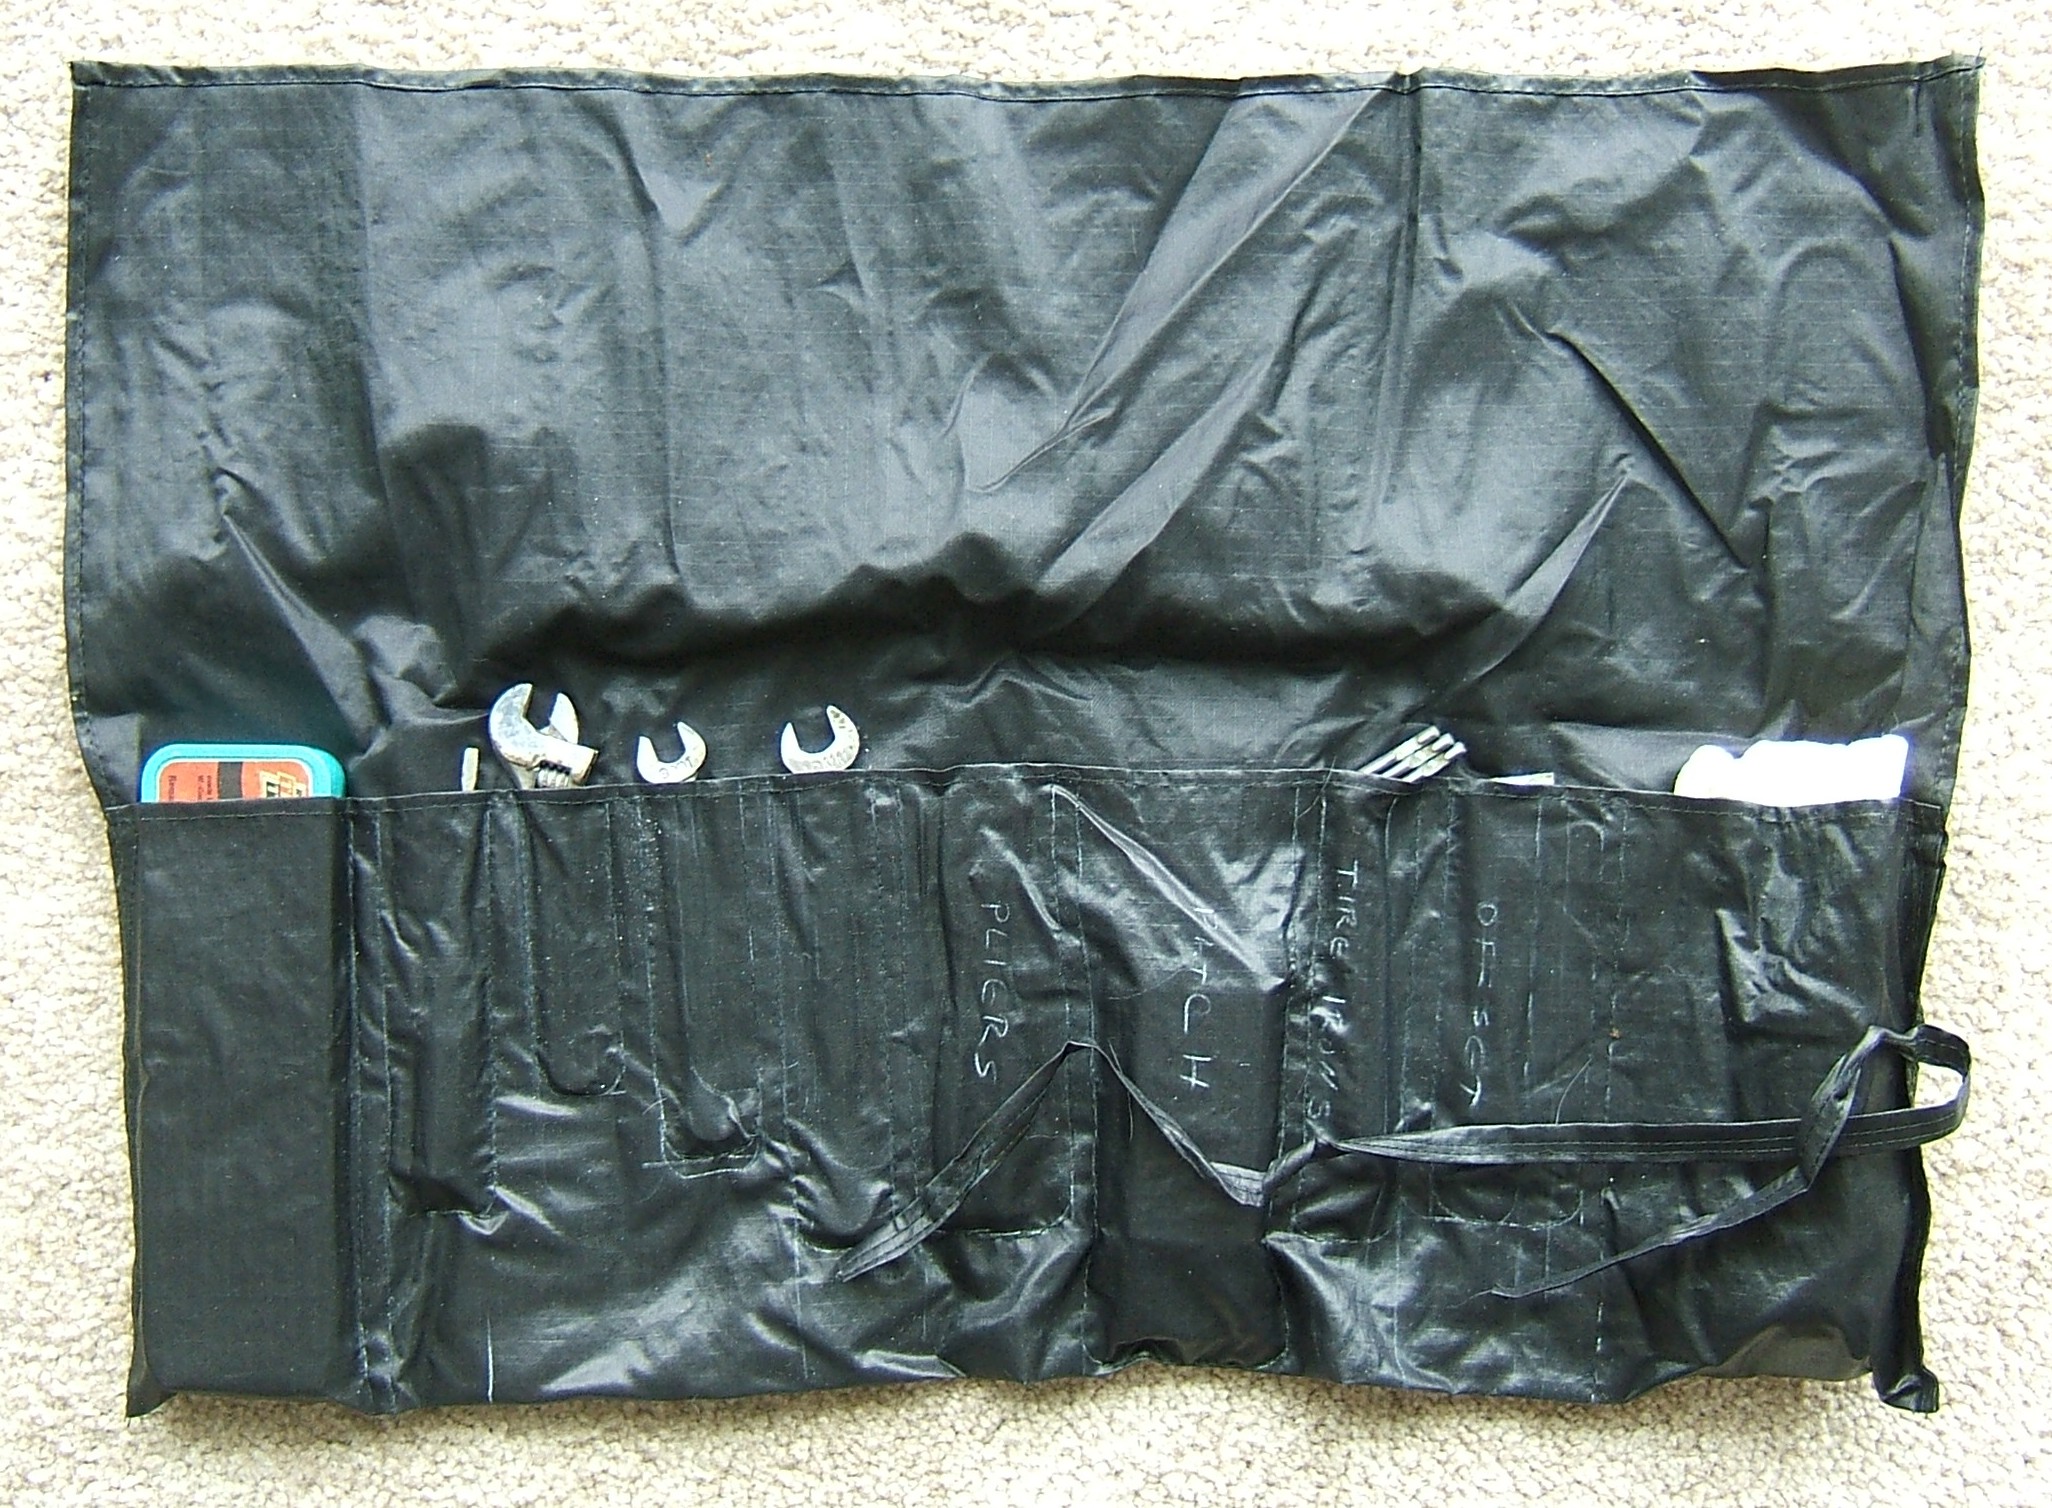
The pencil poking out of the patch-kit pocket belongs Somewhere Else —perhaps beside the Rema boxes— and the shoe wrench beside it doesn't belong in the tool kit at all; I finished adjusting those cleats decades ago. The allen key among the coins doesn't belong either, but you never know when you might need an allen key.
The two blobs of paper towel contain a lip-salve box of hand cleaner and a film-can sewing kit.
When the job is finished, I intend to put the coins in the bottom of the Park-Tool patch-kit pocket, but didn't want to have to get them out again. Not to mention that at the moment, that pocket leaks a little.
All done! When I finished the pockets, I turned it over to inspect the side where I'm not confused by the Nonce lines, and my stitching isn't all that wobbly. Of course, I did use magnifying glasses all the way, and turn the handwheel at every curve.
I put the pencil in with the Park-Tool kit, coins, and allen key.
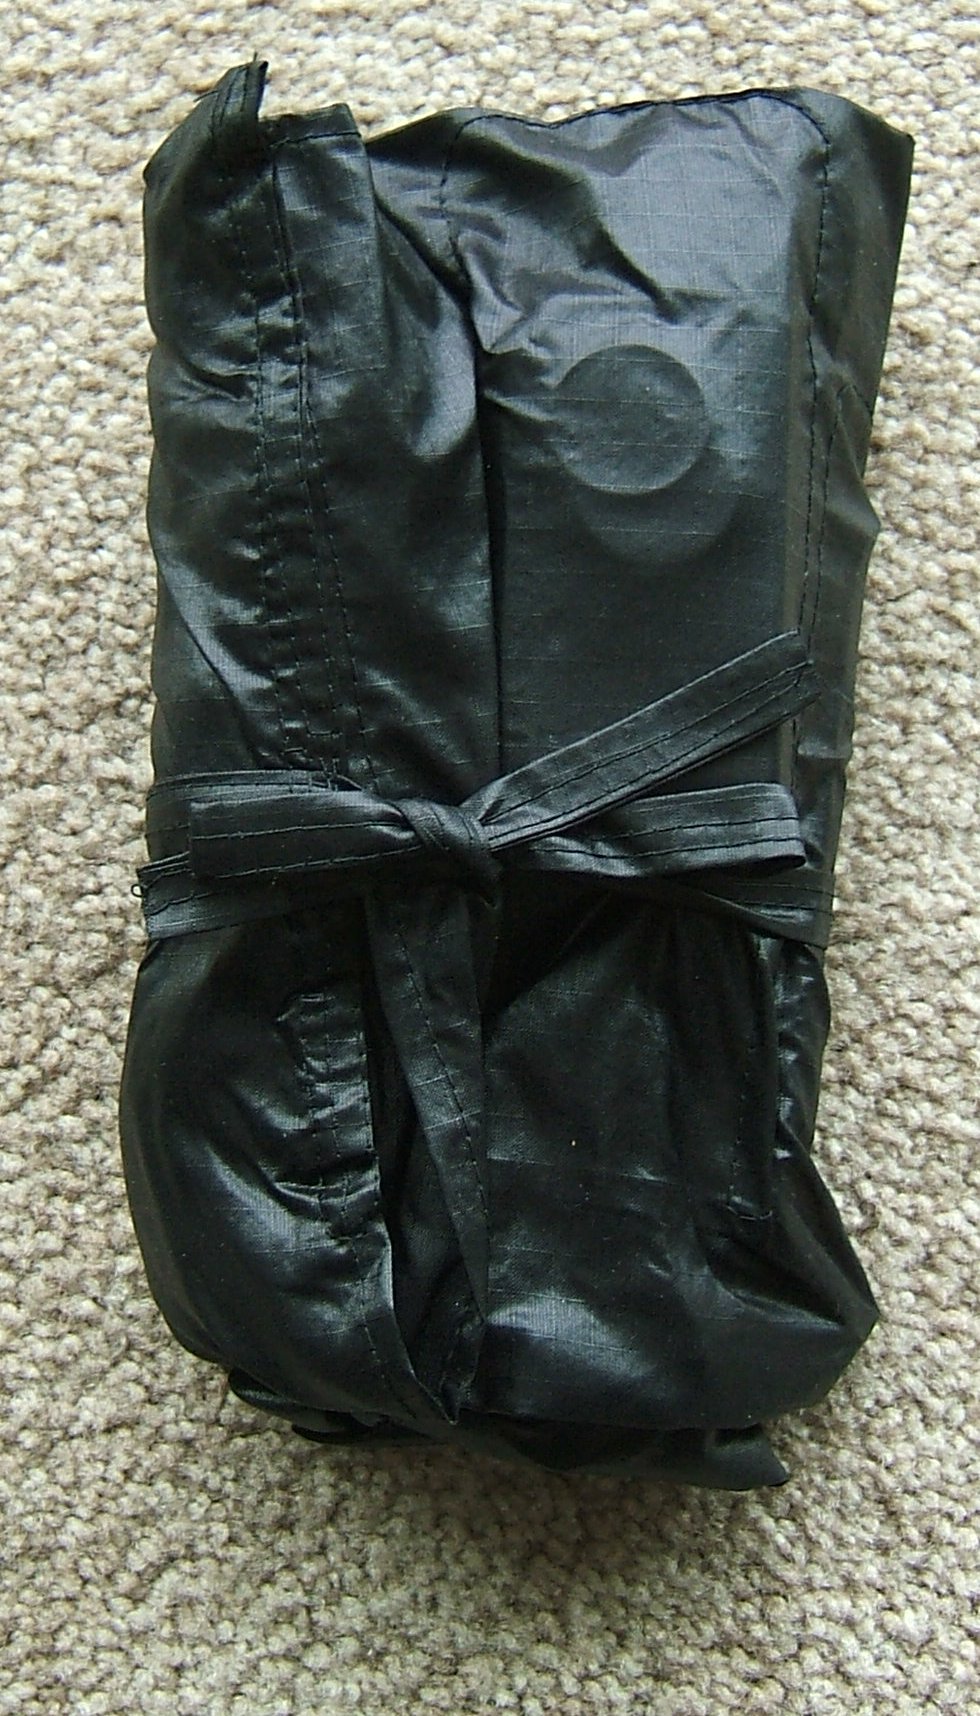
The new tie is slicker than the old one. I may have to resort to using a surgeon's knot when I'm not closing the roll-kit on a table. I sewed it on by stitching back and forth, going well beyond its edges so there wouldn't be any strain on the turning places. Because it's black on black, I didn't even try to photograph the tie stitching.
Back to Rough Sewing
Back to the writing page
Back to the links page